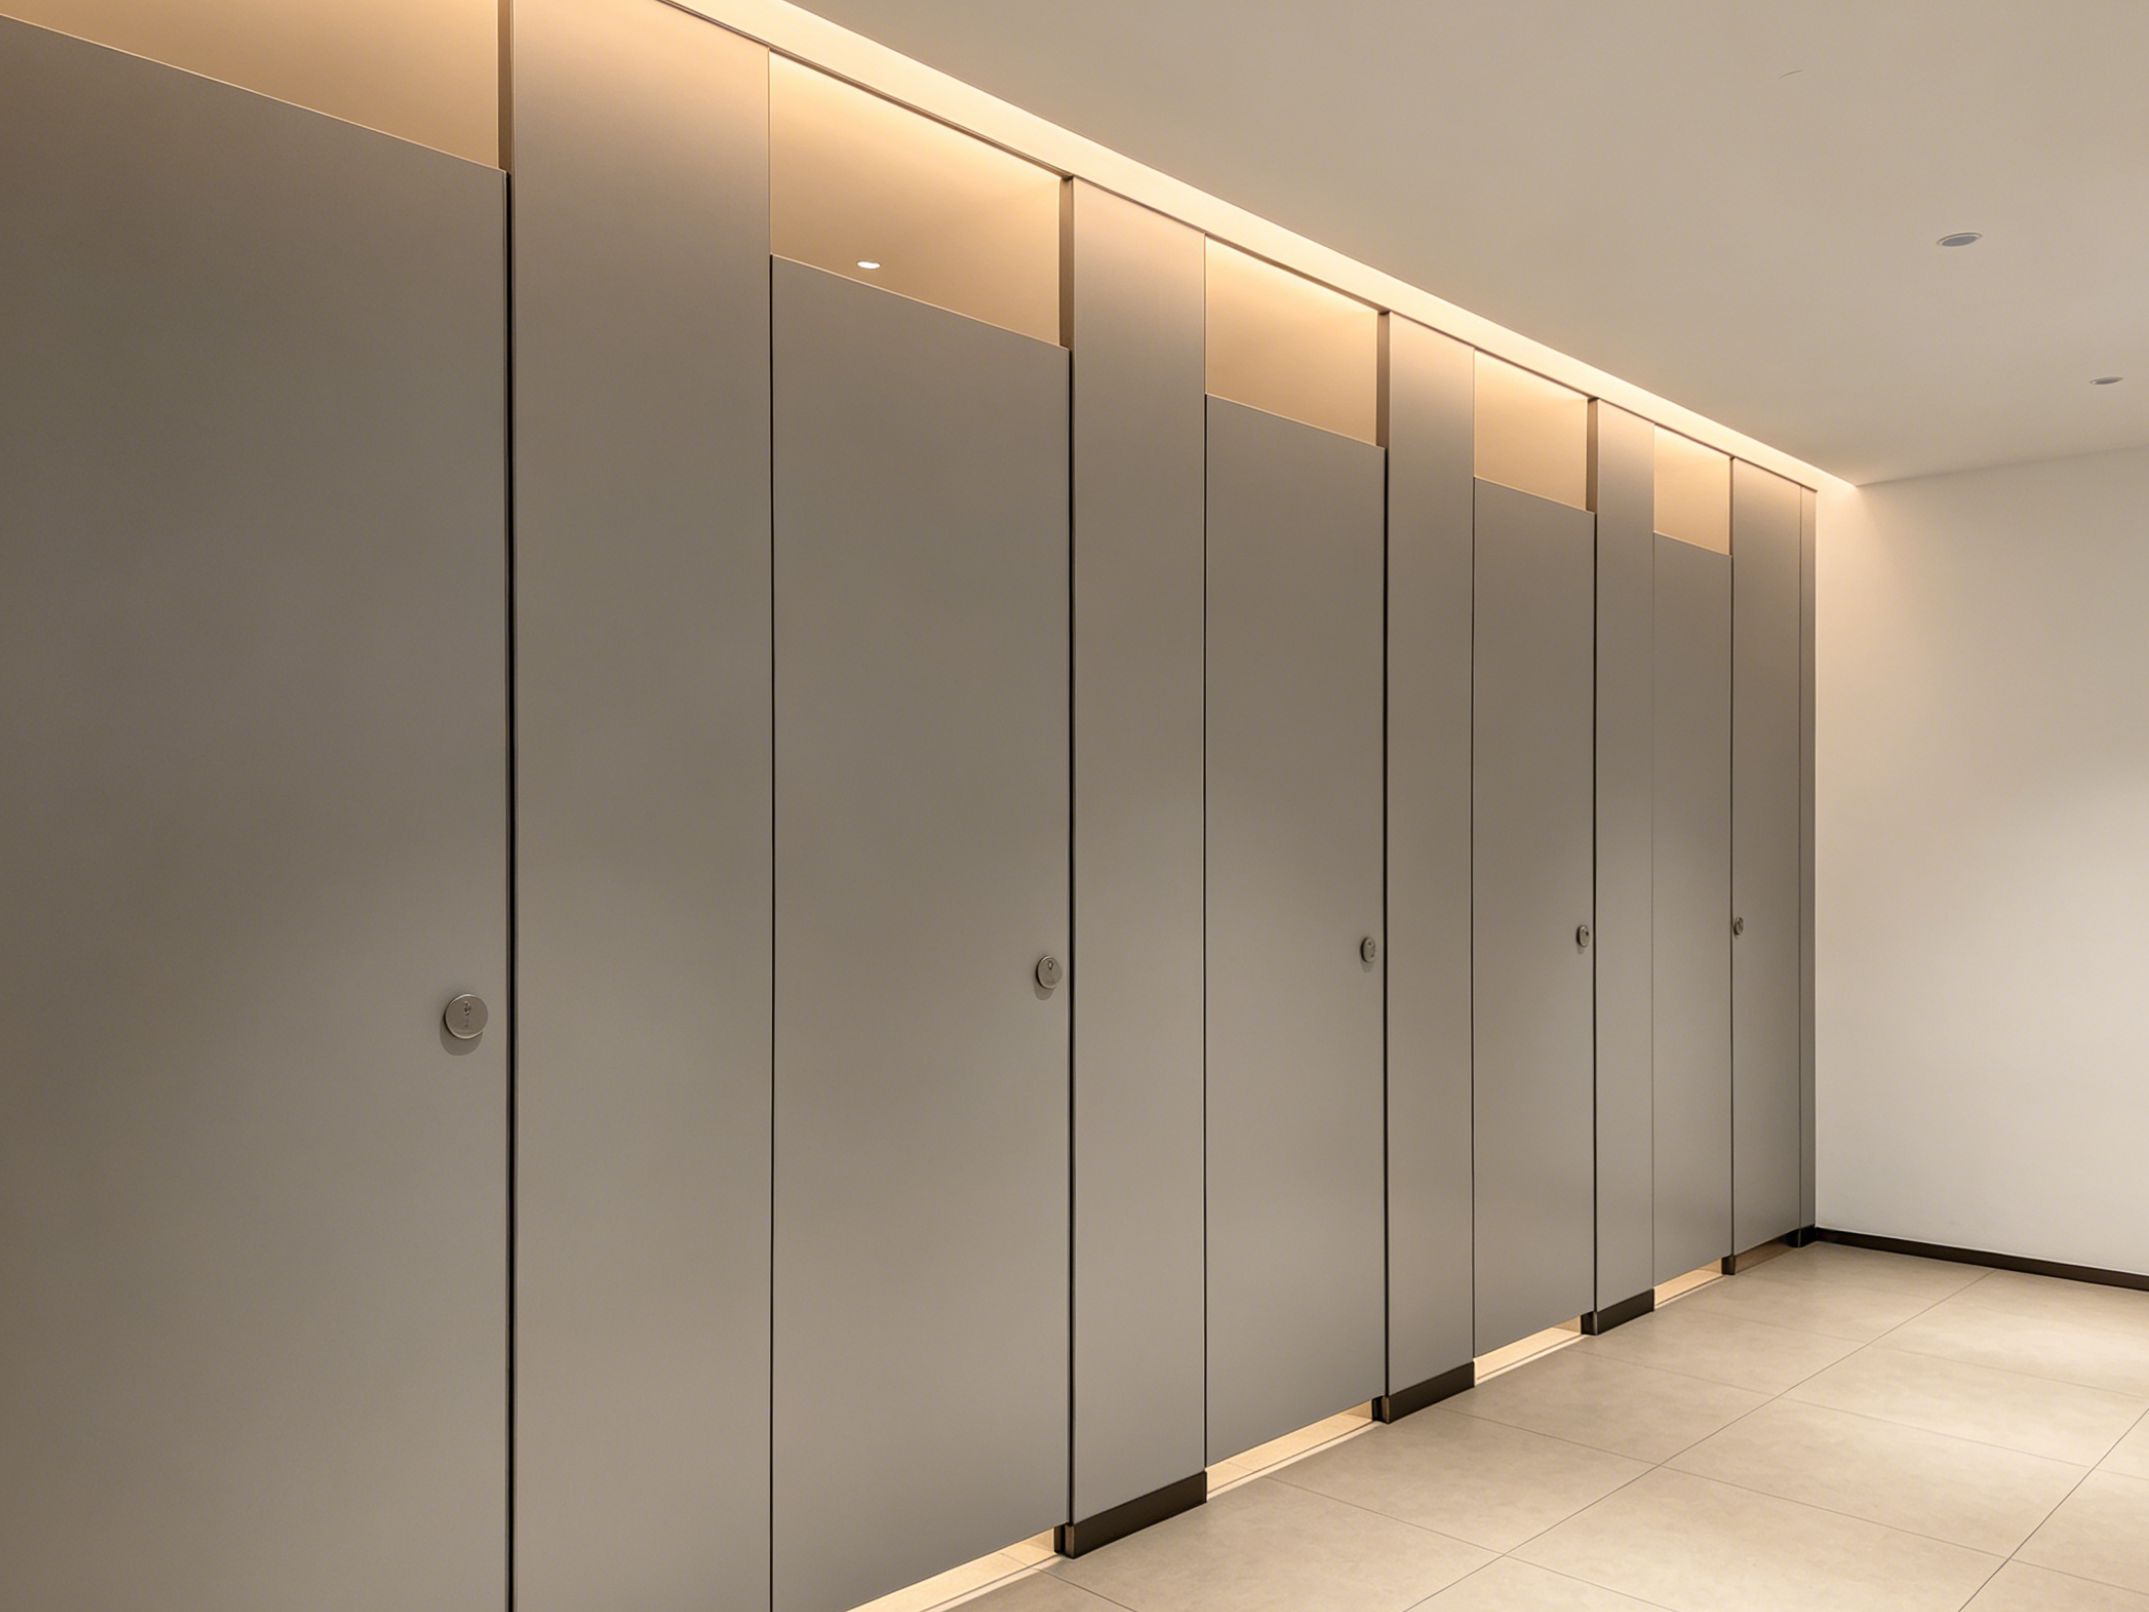
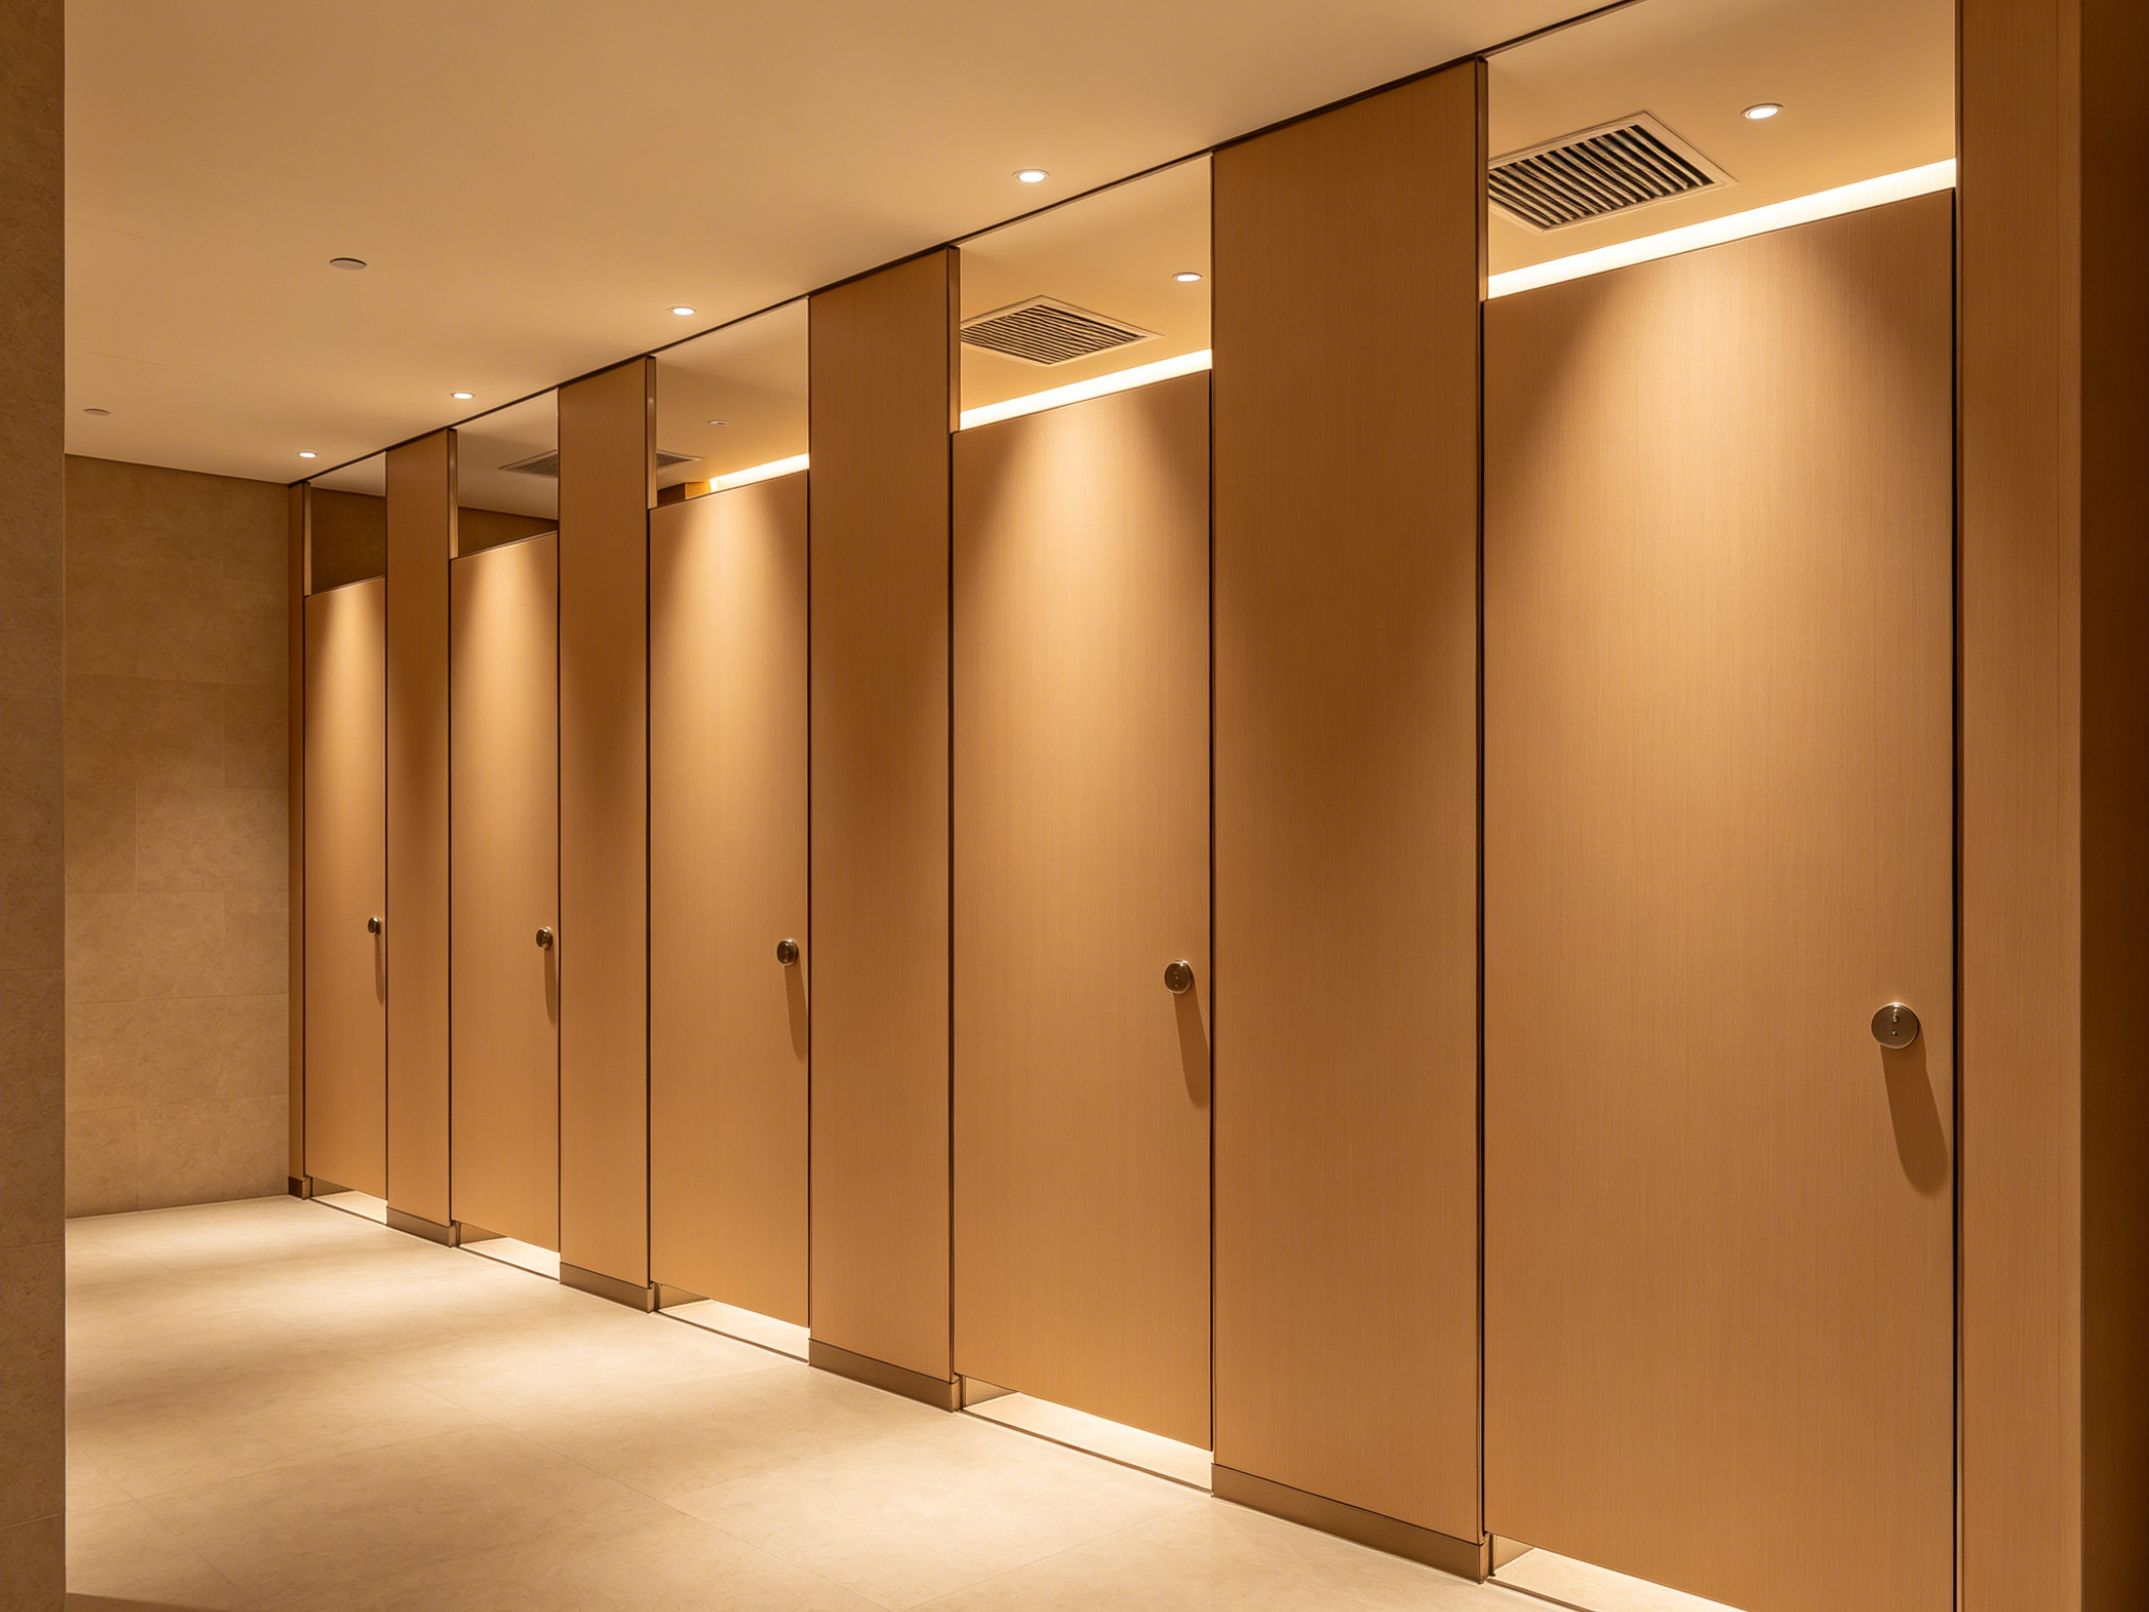
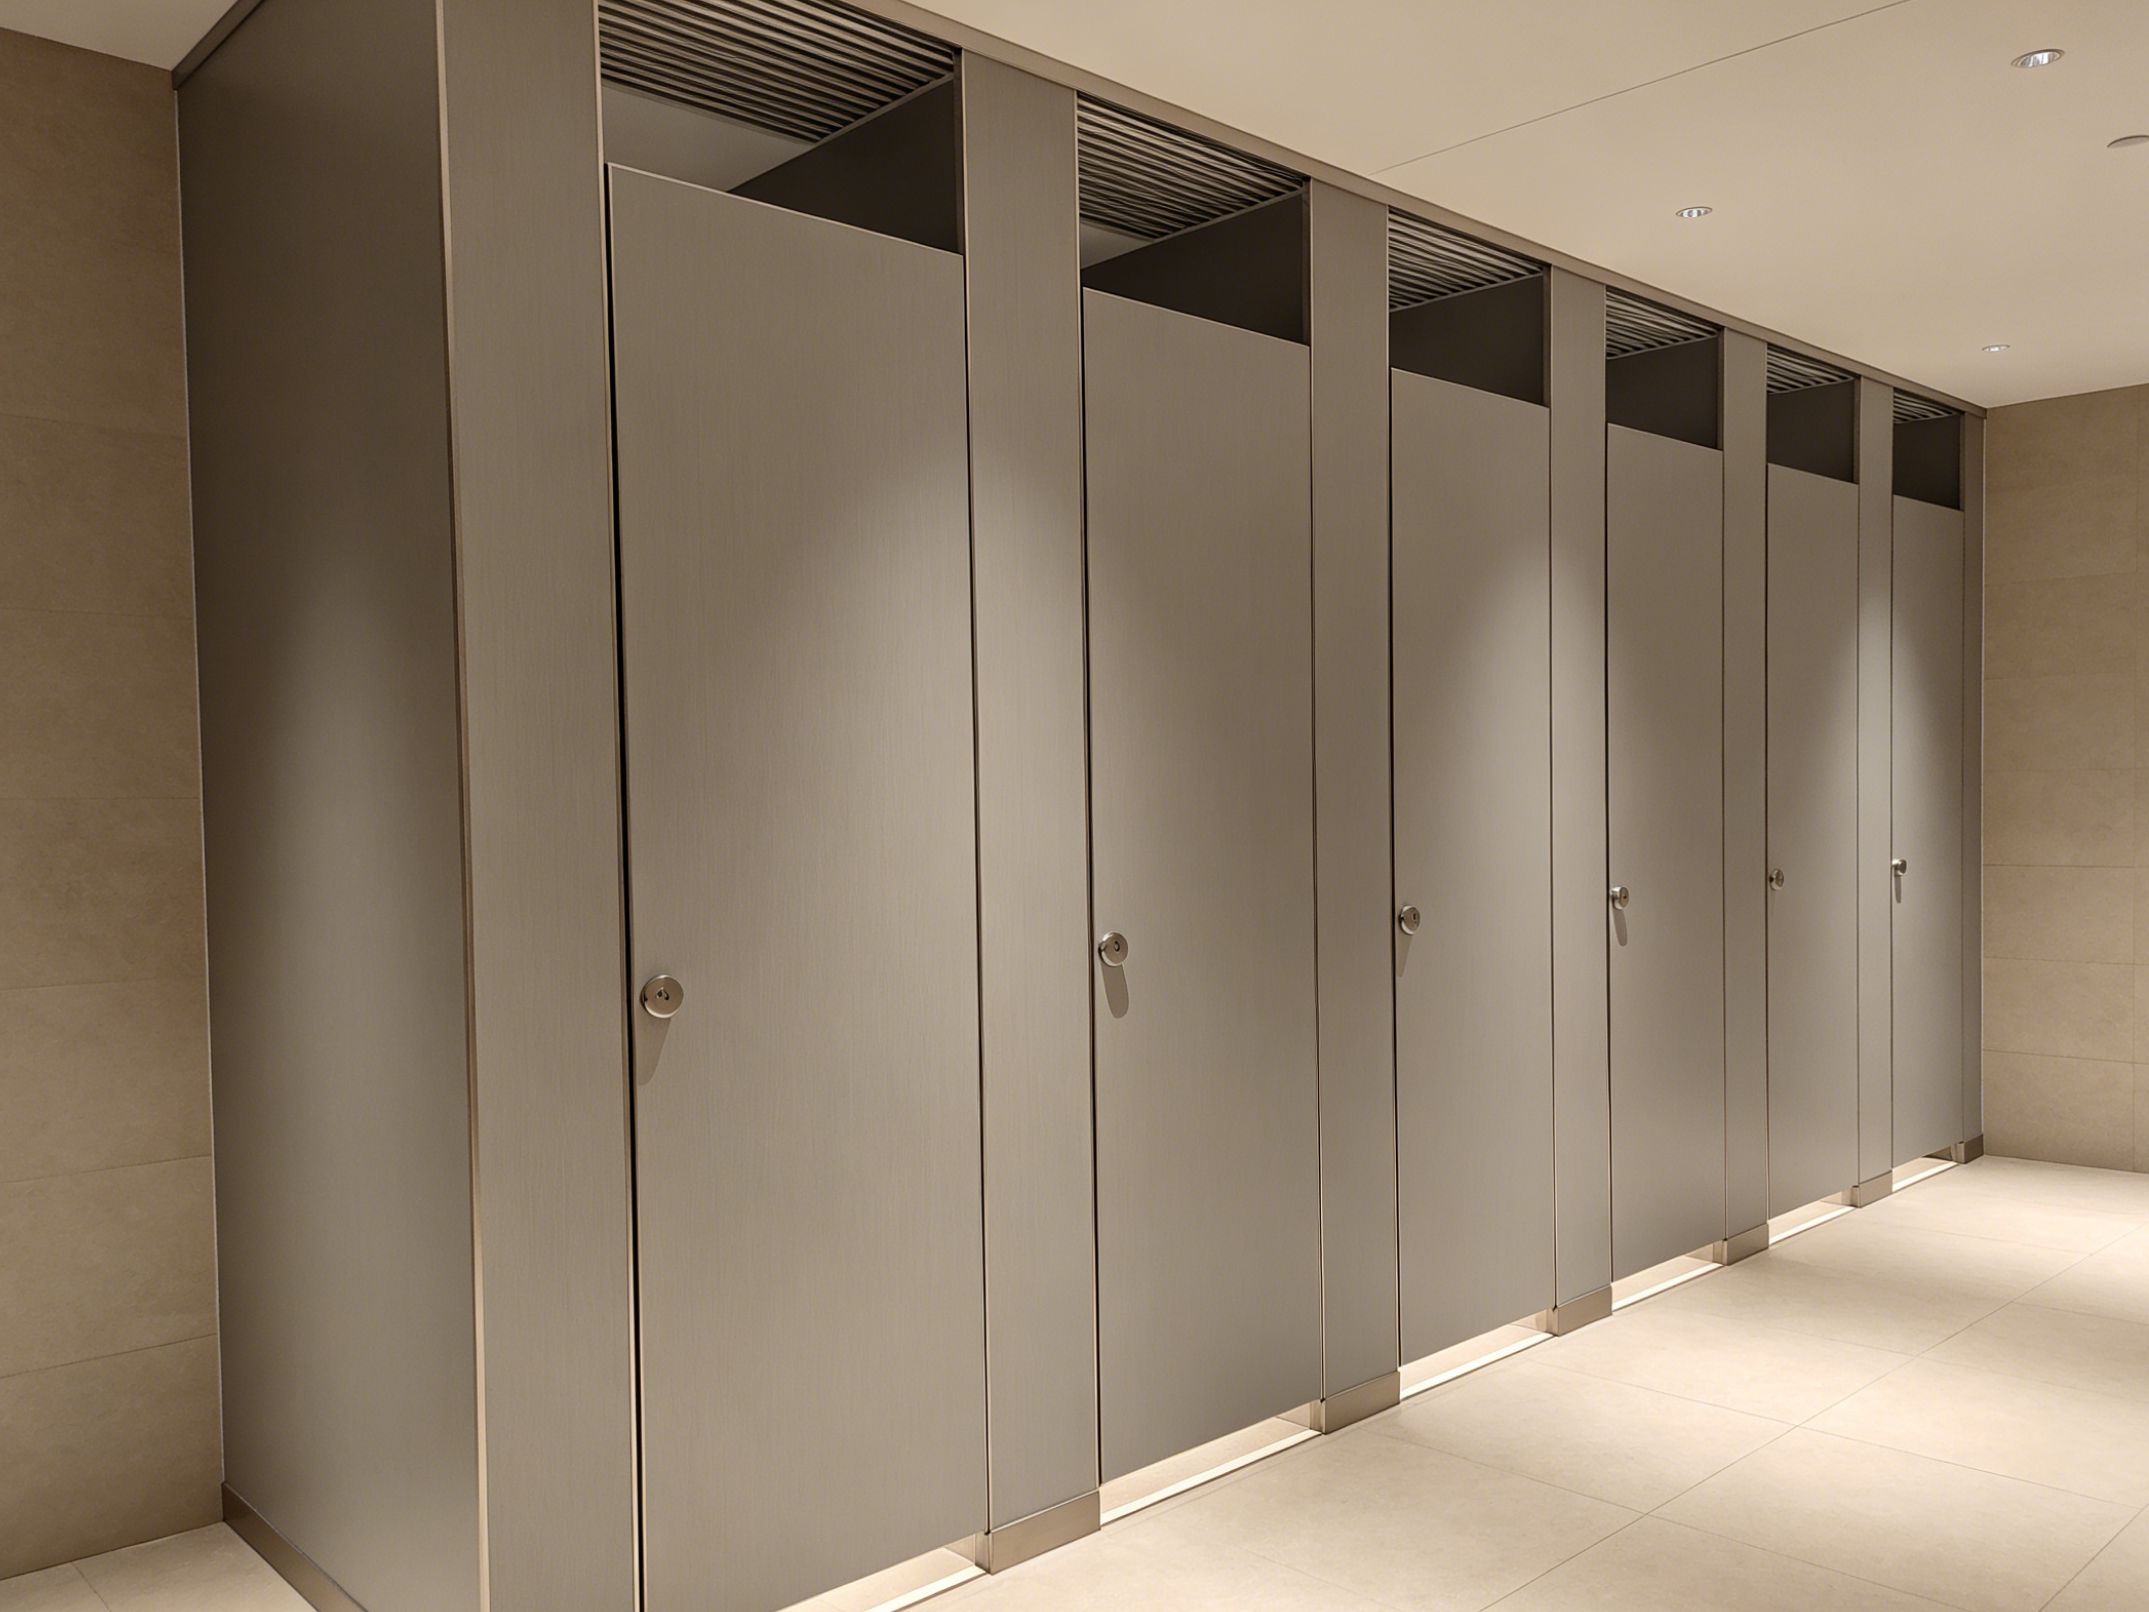
HPL Toilet Partitions CAD Drawing and Specification Guide for Malaysia Projects
मलेशिया परियोजनाओं के लिए HPL टॉयलेट पार्टिशन CAD ड्रॉइंग और स्पेसिफिकेशन गाइड
सटीक HPL toilet partitions CAD ड्रॉइंग मलेशिया की कमर्शियल रेस्टरूम परियोजनाओं में फैब्रिकेशन की गलतियों और इंस्टॉलेशन समस्याओं को कम करने के लिए आवश्यक हैं। एक पूर्ण ड्रॉइंग में पैनल के आयाम, क्यूबिकल लेआउट, दरवाज़े की स्थिति, हार्डवेयर, फिनिश, फिक्सिंग कंडीशन और उत्पादन के लिए आवश्यक अन्य विवरण स्पष्ट रूप से दिए जाने चाहिए।
कॉन्ट्रैक्टर, आर्किटेक्ट और प्रोजेक्ट डेवलपर के लिए अधूरी स्पेसिफिकेशन से प्रोजेक्ट टीम, निर्माता और इंस्टॉलेशन टीम के बीच बार-बार सवाल उठ सकते हैं। इससे अप्रूवल में समय बढ़ सकता है, उत्पादन में देरी हो सकती है और साइट पर महंगे संशोधन करने पड़ सकते हैं।
अच्छी तरह तैयार किया गया CAD पैकेज आर्किटेक्चरल डिजाइन, फैक्ट्री प्रोडक्शन और अंतिम इंस्टॉलेशन के बीच एक स्पष्ट कनेक्शन बनाता है।
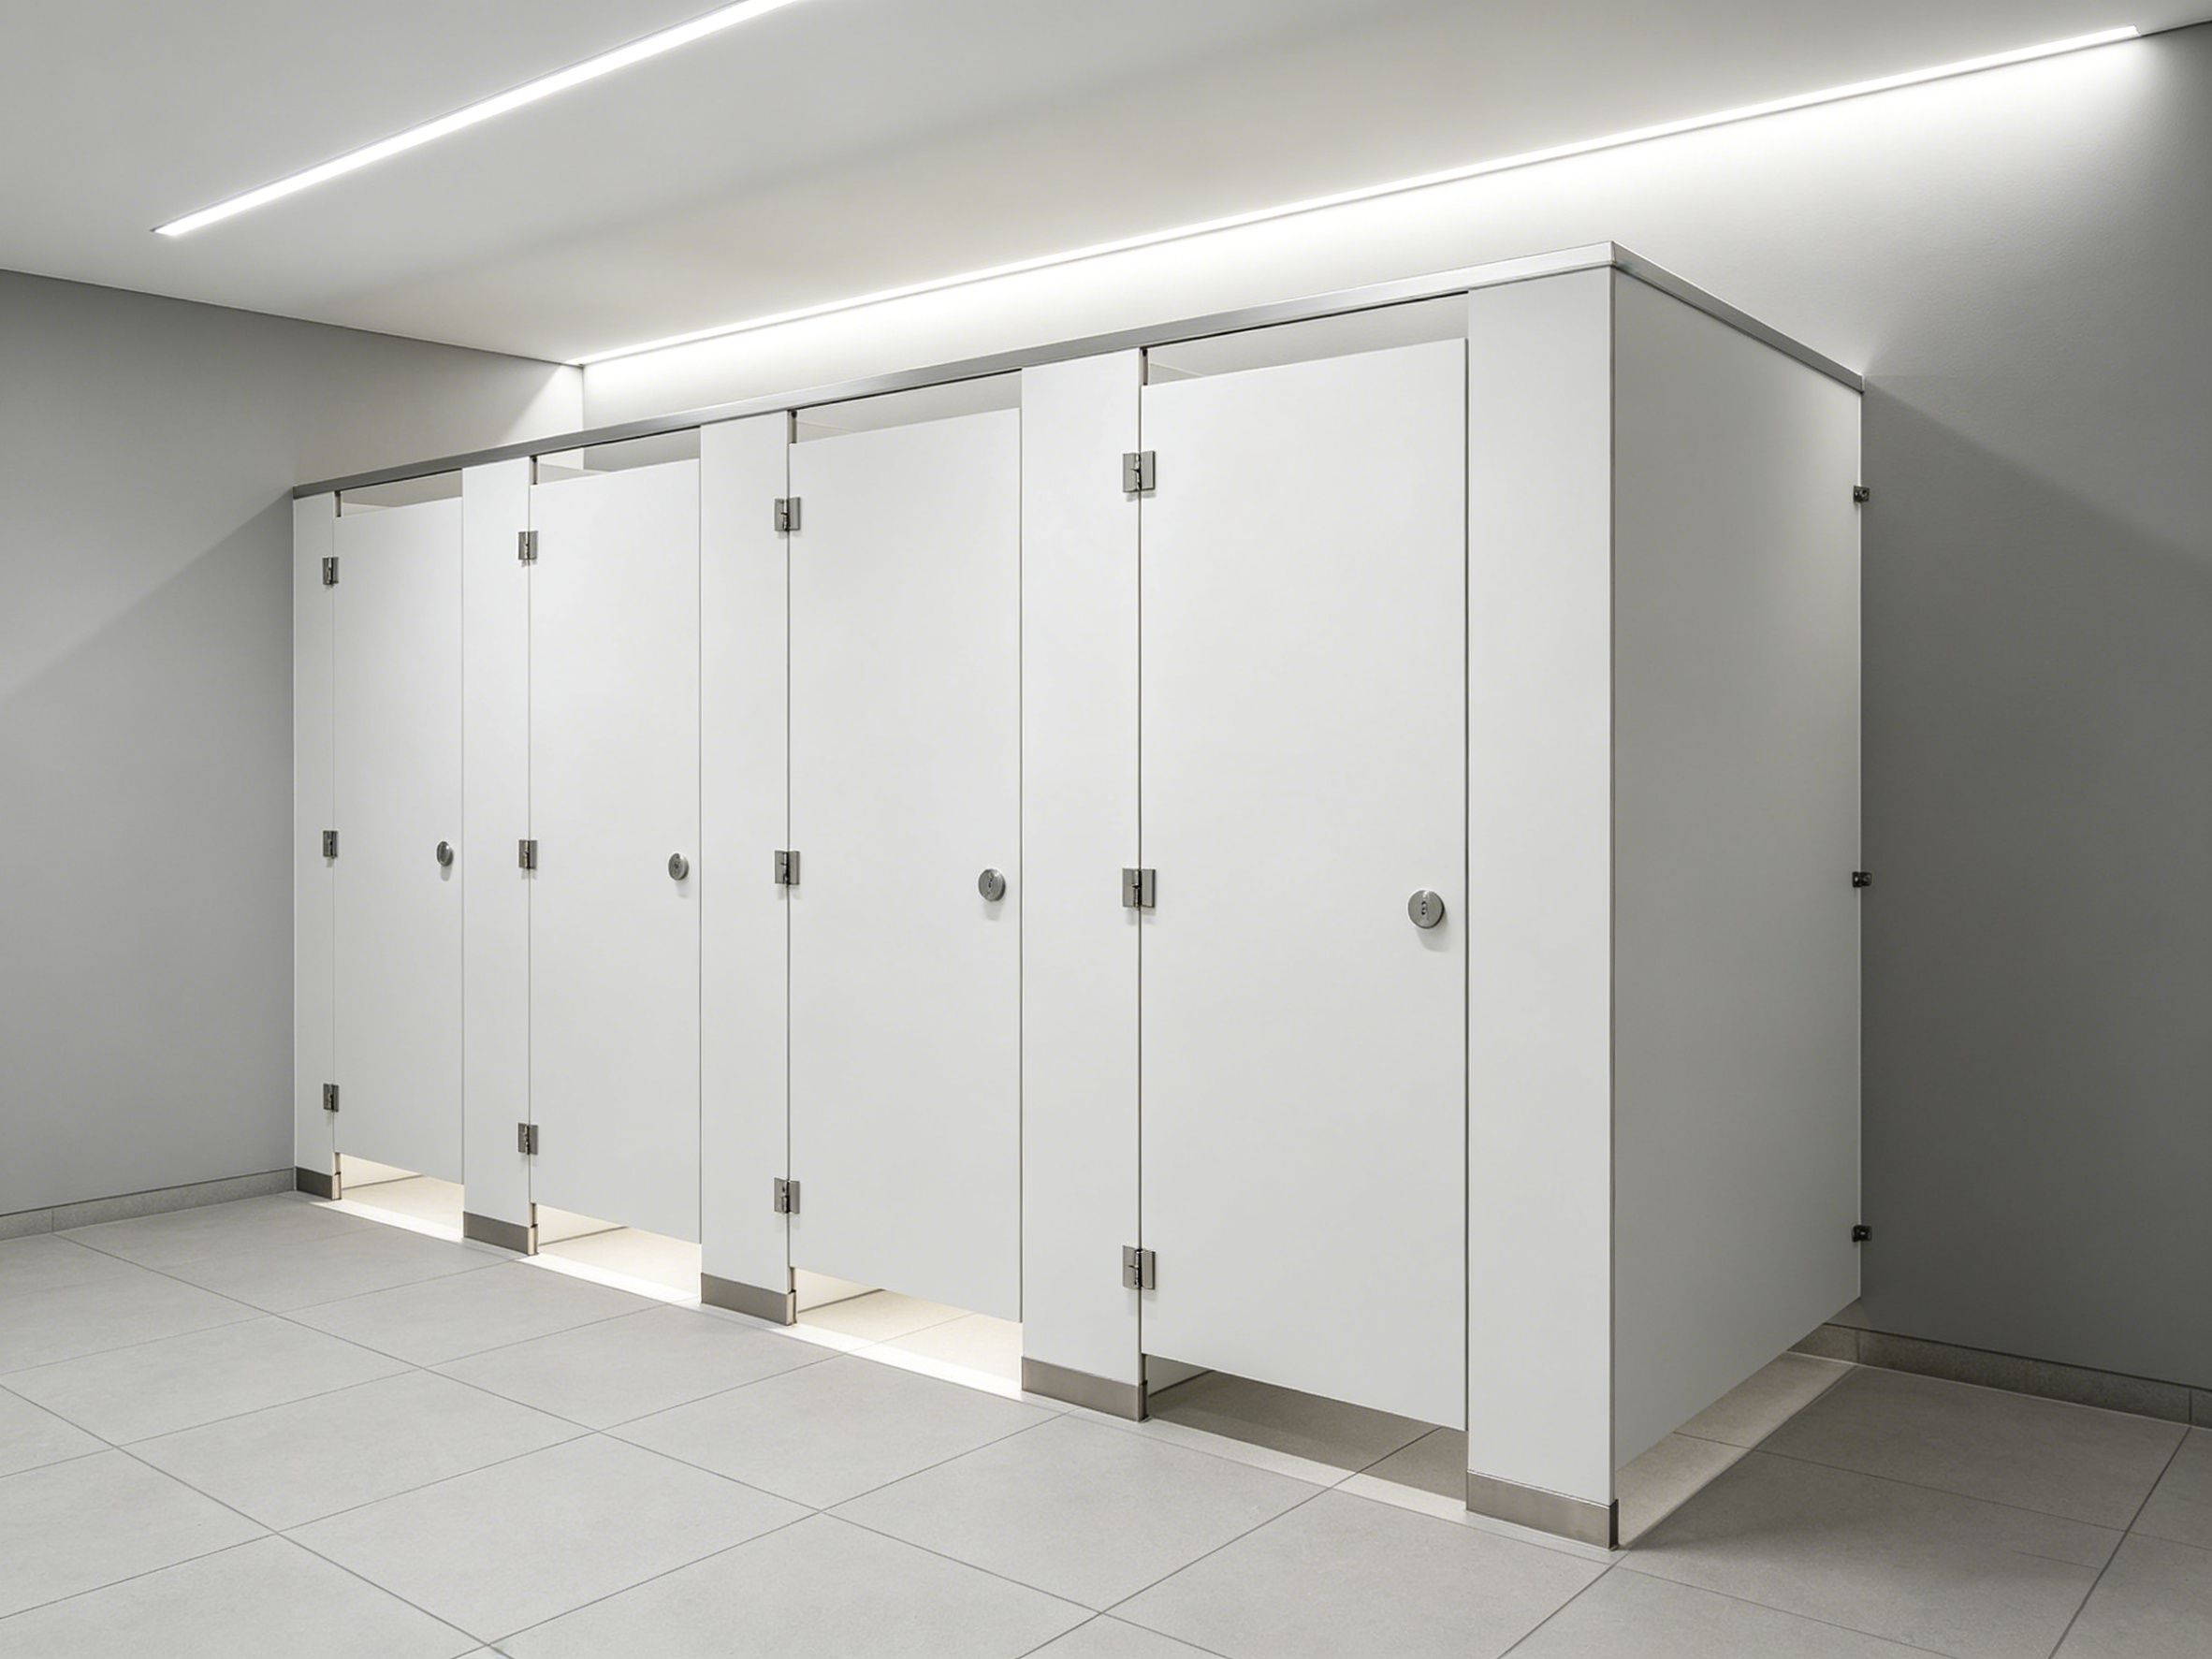
HPL Toilet Partitions के लिए CAD Drawings क्यों महत्वपूर्ण हैं
HPL toilet partitions को अक्सर प्रोजेक्ट की विशेष आवश्यकताओं के अनुसार निर्मित किया जाता है। सामान्य रेडी-टू-इंस्टॉल उत्पादों के विपरीत, कस्टम पैनलों के उत्पादन से पहले सटीक जानकारी आवश्यक होती है।
CAD ड्रॉइंग निर्माता को रेस्टरूम के सटीक कॉन्फ़िगरेशन को समझने और फैब्रिकेशन से पहले संभावित समस्याओं की पहचान करने में मदद करती हैं। वे इंस्टॉलर को पैनल, दरवाज़े, हार्डवेयर और फिक्सिंग कंपोनेंट की सही स्थिति निर्धारित करने के लिए एक व्यावहारिक संदर्भ भी प्रदान करती हैं।
बड़े प्रोजेक्ट में यह समन्वय और भी महत्वपूर्ण हो जाता है, क्योंकि एक छोटी dimensional error कई रेस्टरूम क्षेत्रों में दोहराई जा सकती है।
1. Overall Restroom Layout से शुरुआत करें
पहली ड्रॉइंग में पूरे रेस्टरूम का कॉन्फ़िगरेशन स्पष्ट रूप से दिखना चाहिए। इससे यह निर्धारित होता है कि पार्टिशन सिस्टम उपलब्ध आर्किटेक्चरल स्पेस में किस प्रकार फिट होगा।
लेआउट में निम्नलिखित जानकारी होनी चाहिए:
-
कमरे के कुल आयाम
-
दीवारों की स्थिति
-
क्यूबिकल्स की संख्या
-
क्यूबिकल की चौड़ाई और गहराई
-
पार्टिशन की स्थिति
-
दरवाज़ों की स्थिति
-
दरवाज़े खुलने की दिशा
-
फिक्स्चर की स्थिति
-
सर्कुलेशन क्षेत्र
लेआउट को मैन्युफैक्चरिंग रिव्यू के लिए भेजने से पहले नवीनतम architectural और MEP drawings के साथ समन्वित किया जाना चाहिए।
2. Accurate HPL Toilet Partitions Dimensions शामिल करें
Dimensions production drawing की नींव होते हैं। निर्माता को प्रत्येक पैनल का आकार और कॉन्फ़िगरेशन निर्धारित करने के लिए पर्याप्त जानकारी चाहिए।
महत्वपूर्ण आयामों में शामिल हो सकते हैं:
-
पार्टिशन की कुल ऊंचाई
-
पैनल की चौड़ाई
-
पैनल की गहराई
-
दरवाज़े की चौड़ाई
-
दरवाज़े की ऊंचाई
-
क्लियरेंस
-
फर्श से पैनल की ऊंचाई
-
दीवार कनेक्शन के आयाम
-
हार्डवेयर फिक्सिंग की स्थिति
असामान्य लेआउट के लिए, जब standard plan view पर्याप्त जानकारी नहीं देती हो, तो कॉन्ट्रैक्टर को अतिरिक्त sectional या enlarged details प्रदान करनी चाहिए।
3. Panel Thickness और Construction दिखाएं
CAD specification में चुनी गई panel thickness और construction को स्पष्ट रूप से दर्शाया जाना चाहिए। यह जानकारी महत्वपूर्ण है क्योंकि यह hardware compatibility, fixing methods, weight और overall structural performance को प्रभावित कर सकती है।
Hardware और fabrication details को final करने के बाद panel specification में बदलाव करने से पहले technical review किया जाना चाहिए।
यदि प्रोजेक्ट में अलग-अलग क्षेत्रों के लिए अलग thickness की आवश्यकता है, तो उन स्थानों को drawings में स्पष्ट रूप से चिन्हित किया जाना चाहिए।
4. Door और Hardware Details Specify करें
Door details को partition layout के साथ स्पष्ट रूप से coordinate किया जाना चाहिए।
Drawing में निम्नलिखित की position और configuration दिखाई जानी चाहिए:
-
Hinges
-
Locks
-
Handles
-
Indicator bolts
-
Brackets
-
Support feet
-
अन्य fixing components
Hardware details चुनी गई panel thickness और door dimensions के अनुरूप होनी चाहिए।
यह विशेष रूप से महत्वपूर्ण है क्योंकि गलत hardware positioning से installation के दौरान drilling modifications या door alignment problems हो सकती हैं।
5. Colors और Surface Finishes दर्शाएं
HPL toilet partitions को विभिन्न colors, patterns, textures और finishes के साथ customize किया जा सकता है। उत्पादन से पहले इन specifications को स्पष्ट रूप से निर्धारित किया जाना चाहिए।
Project team को निम्नलिखित की पुष्टि करनी चाहिए:
-
Surface color
-
Decorative pattern
-
Texture
-
Finish
-
Edge treatment
-
Hardware finish
Commercial office projects में इन details को overall interior design के साथ coordinate करने की आवश्यकता हो सकती है। Public schools में project practical और easy-to-maintain finishes को प्राथमिकता दे सकता है।
जब final appearance महत्वपूर्ण हो, तो mass production से पहले physical sample की समीक्षा की जा सकती है।
6. Wall और Floor Fixing Conditions को Coordinate करें
CAD drawings में यह दिखना चाहिए कि partition building structure से किस प्रकार जुड़ता है।
अलग-अलग projects में wall conditions काफी भिन्न हो सकती हैं। इसलिए manufacturer और installation team को यह जानकारी होनी चाहिए कि brackets या अन्य fixing components कहाँ लगाए जाएंगे।
Floor conditions की भी समीक्षा की जानी चाहिए, विशेष रूप से जहां support feet या floor-mounted systems का उपयोग किया जाता है।
यदि substrate की स्थिति स्पष्ट नहीं है, तो fixing specification को final करने से पहले project team को वास्तविक site condition की पुष्टि करनी चाहिए।
7. Plumbing और MEP Drawings के साथ Coordinate करें
Partition layouts की समीक्षा plumbing और MEP drawings से अलग करके नहीं की जानी चाहिए।
Toilets, urinals, washbasins, pipes, drains, ventilation, lighting और अन्य building services partition positioning को प्रभावित कर सकते हैं।
Production से पहले coordination review से निम्नलिखित संभावित conflicts की पहचान की जा सकती है:
-
Partition panels का plumbing के साथ टकराव
-
Doors का fixtures से संपर्क
-
Fixings का concealed services के साथ conflict
-
Maintenance access की अपर्याप्त जगह
-
गलत cubicle positioning
इन समस्याओं को design stage में हल करना आमतौर पर installation के बाद सुधार करने की तुलना में आसान होता है।
8. एक Clear BOQ तैयार करें
Detailed BOQ CAD drawing और procurement के बीच एक महत्वपूर्ण connection बनाता है।
BOQ में निम्नलिखित शामिल हो सकते हैं:
-
Partition panels
-
Doors
-
Hardware
-
Support feet
-
Brackets
-
Fixings
-
Special components
-
Customized finishes
-
Accessories
-
Spare parts
Order करने से पहले quantities को latest drawings के साथ cross-check किया जाना चाहिए।
बड़े projects के लिए quantities को restroom या building zone के अनुसार अलग करना delivery और installation management को भी आसान बना सकता है।
HPL Toilet Partitions Specification Review Process
एक professional project workflow में कई stages शामिल होनी चाहिए।
Step 1: Architectural Drawings Submit करें
Contractor या architect नवीनतम restroom plans और relevant project requirements प्रदान करता है।
Step 2: Site Conditions की समीक्षा करें
Actual wall, floor, plumbing और fixture conditions को drawings के साथ verify किया जाता है।
Step 3: Partition Drawings तैयार करें
Manufacturer partition layout, dimensions, doors, hardware और finishes तैयार या review करता है।
Step 4: Technical Details Confirm करें
Panel construction, thickness, fixing method, hardware और surface finishes की जांच की जाती है।
Step 5: Production Drawings Approve करें
Manufacturing शुरू होने से पहले project team final drawings की पुष्टि करती है।
Step 6: Approved Drawings के अनुसार Manufacturing करें
Panels और components को approved dimensions और specifications के अनुसार fabricate किया जाता है।
Step 7: Install और Inspect करें
Installation team approved drawings के अनुसार installation पूरा करती है और final quality inspection करती है।
यह प्रक्रिया design से production और installation तक एक स्पष्ट connection बनाती है।
Common CAD Drawing Mistakes
Overall Dimensions का Missing होना
Complete dimensions के बिना manufacturer को assumptions बनाने या अतिरिक्त जानकारी मांगने की आवश्यकता पड़ सकती है।
Hardware का नहीं दिखाया जाना
Hardware positions को installation के दौरान जोड़ने के बजाय drawings में पहले से शामिल किया जाना चाहिए।
Production के लिए Old Drawings का उपयोग करना
Production केवल latest approved revision के आधार पर आगे बढ़ना चाहिए।
Plumbing के साथ Coordination न करना
Partition layouts को MEP और fixture positions के साथ verify किया जाना चाहिए।
Finish Specifications का Unclear होना
Production misunderstandings से बचने के लिए colors और finishes को स्पष्ट रूप से identify किया जाना चाहिए।
Site Verification का न होना
Architectural drawings हमेशा final site conditions को accurately reflect नहीं कर सकतीं। Fabrication से पहले site measurements की पुष्टि की जानी चाहिए।
CAD Coordination से Project Costs कैसे कम होते हैं
अच्छा CAD coordination अनावश्यक site labor को सीधे कम कर सकता है।
जब dimensions, hardware, finishes और fixing details को production से पहले confirm कर लिया जाता है, तो factory fabrication अधिक accurate हो सकती है और installers predictable layout के अनुसार काम कर सकते हैं।
इससे साइट पर cutting, drilling, repositioning और component replacement की संभावना कम होती है। बड़े commercial projects में बार-बार होने वाली छोटी गलतियों को रोकने से labor और project time में महत्वपूर्ण बचत हो सकती है।
Commercial Office Buildings के लिए CAD Requirements
Office projects में visual coordination और customized finishes पर अधिक जोर हो सकता है। इसलिए CAD drawings में partition system और surrounding interior के बीच संबंध को स्पष्ट रूप से दिखाया जाना चाहिए।
Architects production से पहले cubicle proportions, door alignment, finishes और hardware appearance की पुष्टि करने के लिए drawings का उपयोग कर सकते हैं।
इससे यह सुनिश्चित करने में मदद मिलती है कि final restroom intended architectural design के अनुरूप हो।
Public Schools के लिए CAD Requirements
Public school projects में durability, safety, accessibility और efficient installation पर अतिरिक्त ध्यान दिया जाना चाहिए।
Drawings में high-use areas, door configurations, hardware, support points और जहां आवश्यक हो accessible restroom layouts को स्पष्ट रूप से दर्शाया जाना चाहिए।
Early technical review से contractors को कई school restroom areas में बार-बार होने वाले modifications से बचने में मदद मिल सकती है।
People Also Ask (FAQ)
Q1: HPL toilet partition CAD drawing में क्या शामिल होना चाहिए?
इसमें सामान्यतः restroom layout, panel dimensions, partition height, door dimensions, hardware positions, fixing conditions, finishes और relevant fixture coordination शामिल होना चाहिए।
Q2: क्या मैं architectural drawings सीधे manufacturer को भेज सकता हूँ?
हाँ। Manufacturer architectural drawings की समीक्षा करके production से पहले partition specification को तैयार करने या confirm करने में सहायता कर सकता है।
Q3: Production से पहले CAD drawings को approve क्यों करना चाहिए?
Approval यह पुष्टि करता है कि dimensions, hardware, finishes और layout requirements पर सहमति हो चुकी है। इससे गलत जानकारी के आधार पर manufacturing होने का जोखिम कम होता है।
Q4: क्या BOQ को CAD drawings से match करना चाहिए?
हाँ। Procurement से पहले quantities और specifications को latest approved drawings के साथ check किया जाना चाहिए।
Q5: क्या customized HPL toilet partitions CAD drawings से manufacture किए जा सकते हैं?
हाँ। Approved project drawings और technical specifications के अनुसार custom dimensions और configurations का manufacturing किया जा सकता है।
Project Planning & Engineering Support
सफल restroom partition projects की शुरुआत accurate planning से होती है। यदि आप commercial office buildings or public schools in Malaysia के लिए specifications तैयार कर रहे हैं, तो हमारे engineers आपके layouts की समीक्षा करने और production शुरू होने से पहले उपयुक्त HPL toilet partition solutions की सिफारिश करने में सहायता कर सकते हैं।
-
CAD & Specification Review: mrsalufcs@gmail.com (Engineering verification के लिए अपनी drawings या BOQ भेजें।)
-
Technical Consultation: +86 15207652902 (Partition layouts, hardware selection और project coordination के बारे में हमारी टीम से सलाह लें।)
HPL Toilet Partitions Cost and Pricing Guide for Malaysia Projects
HPL Toilet Partition Hardware Accessories Guide for Malaysia Projects