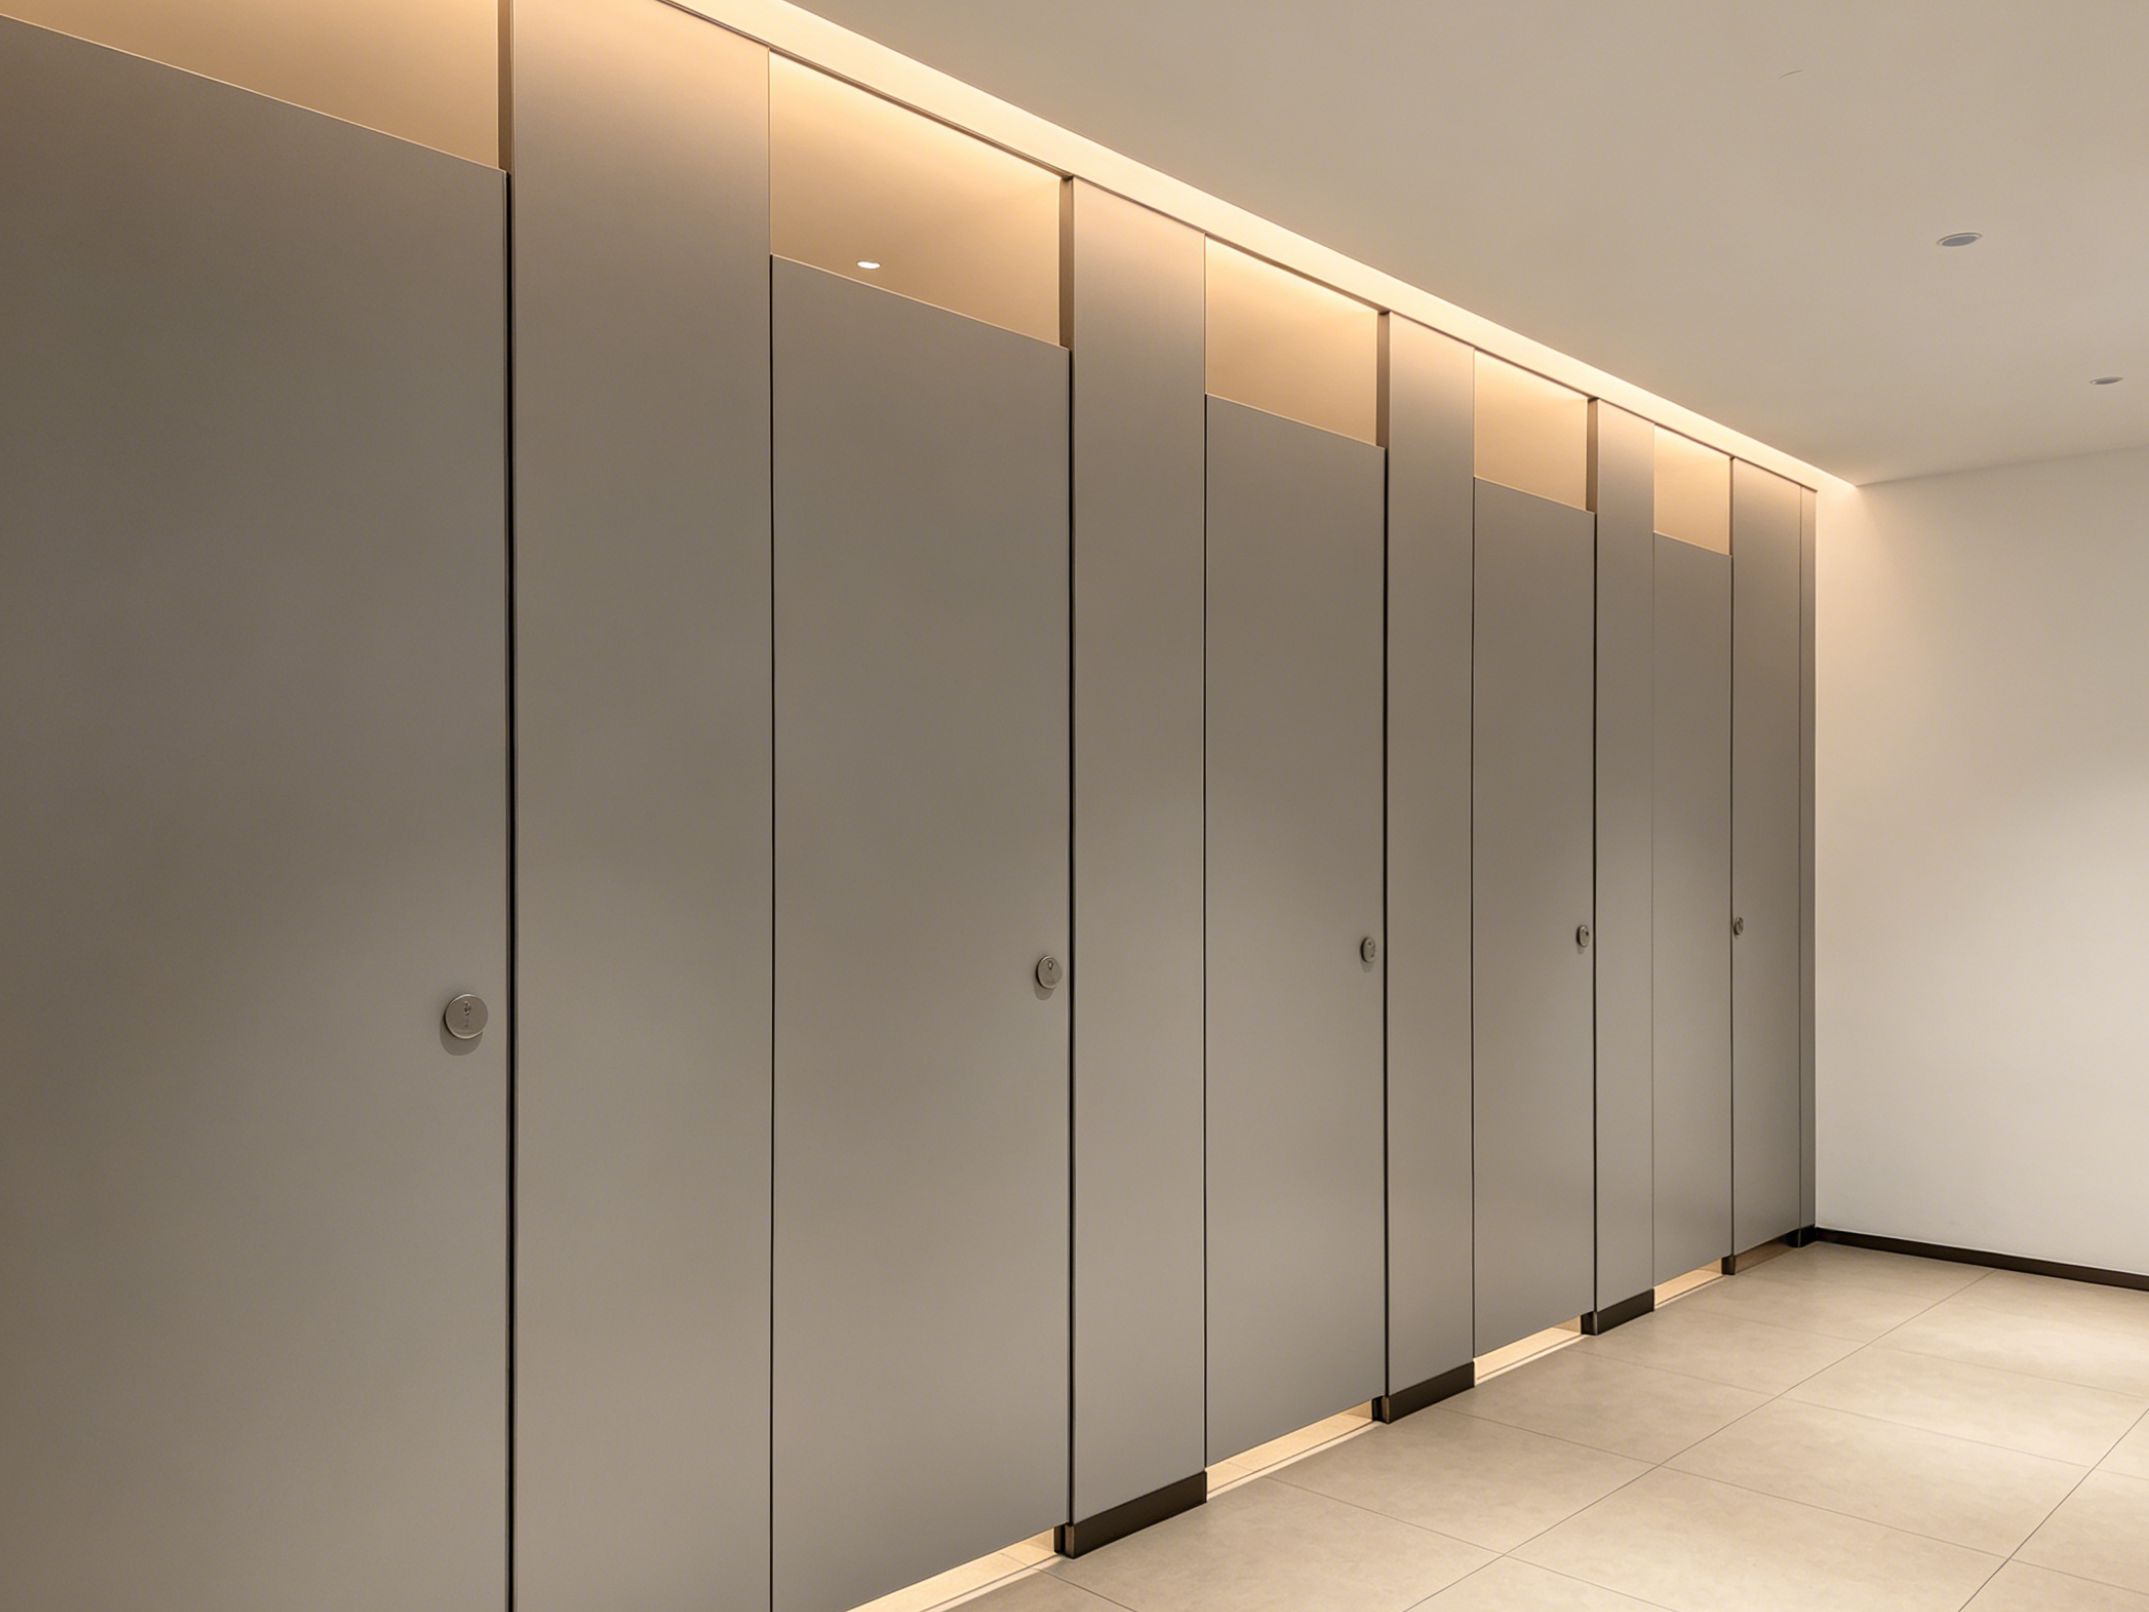
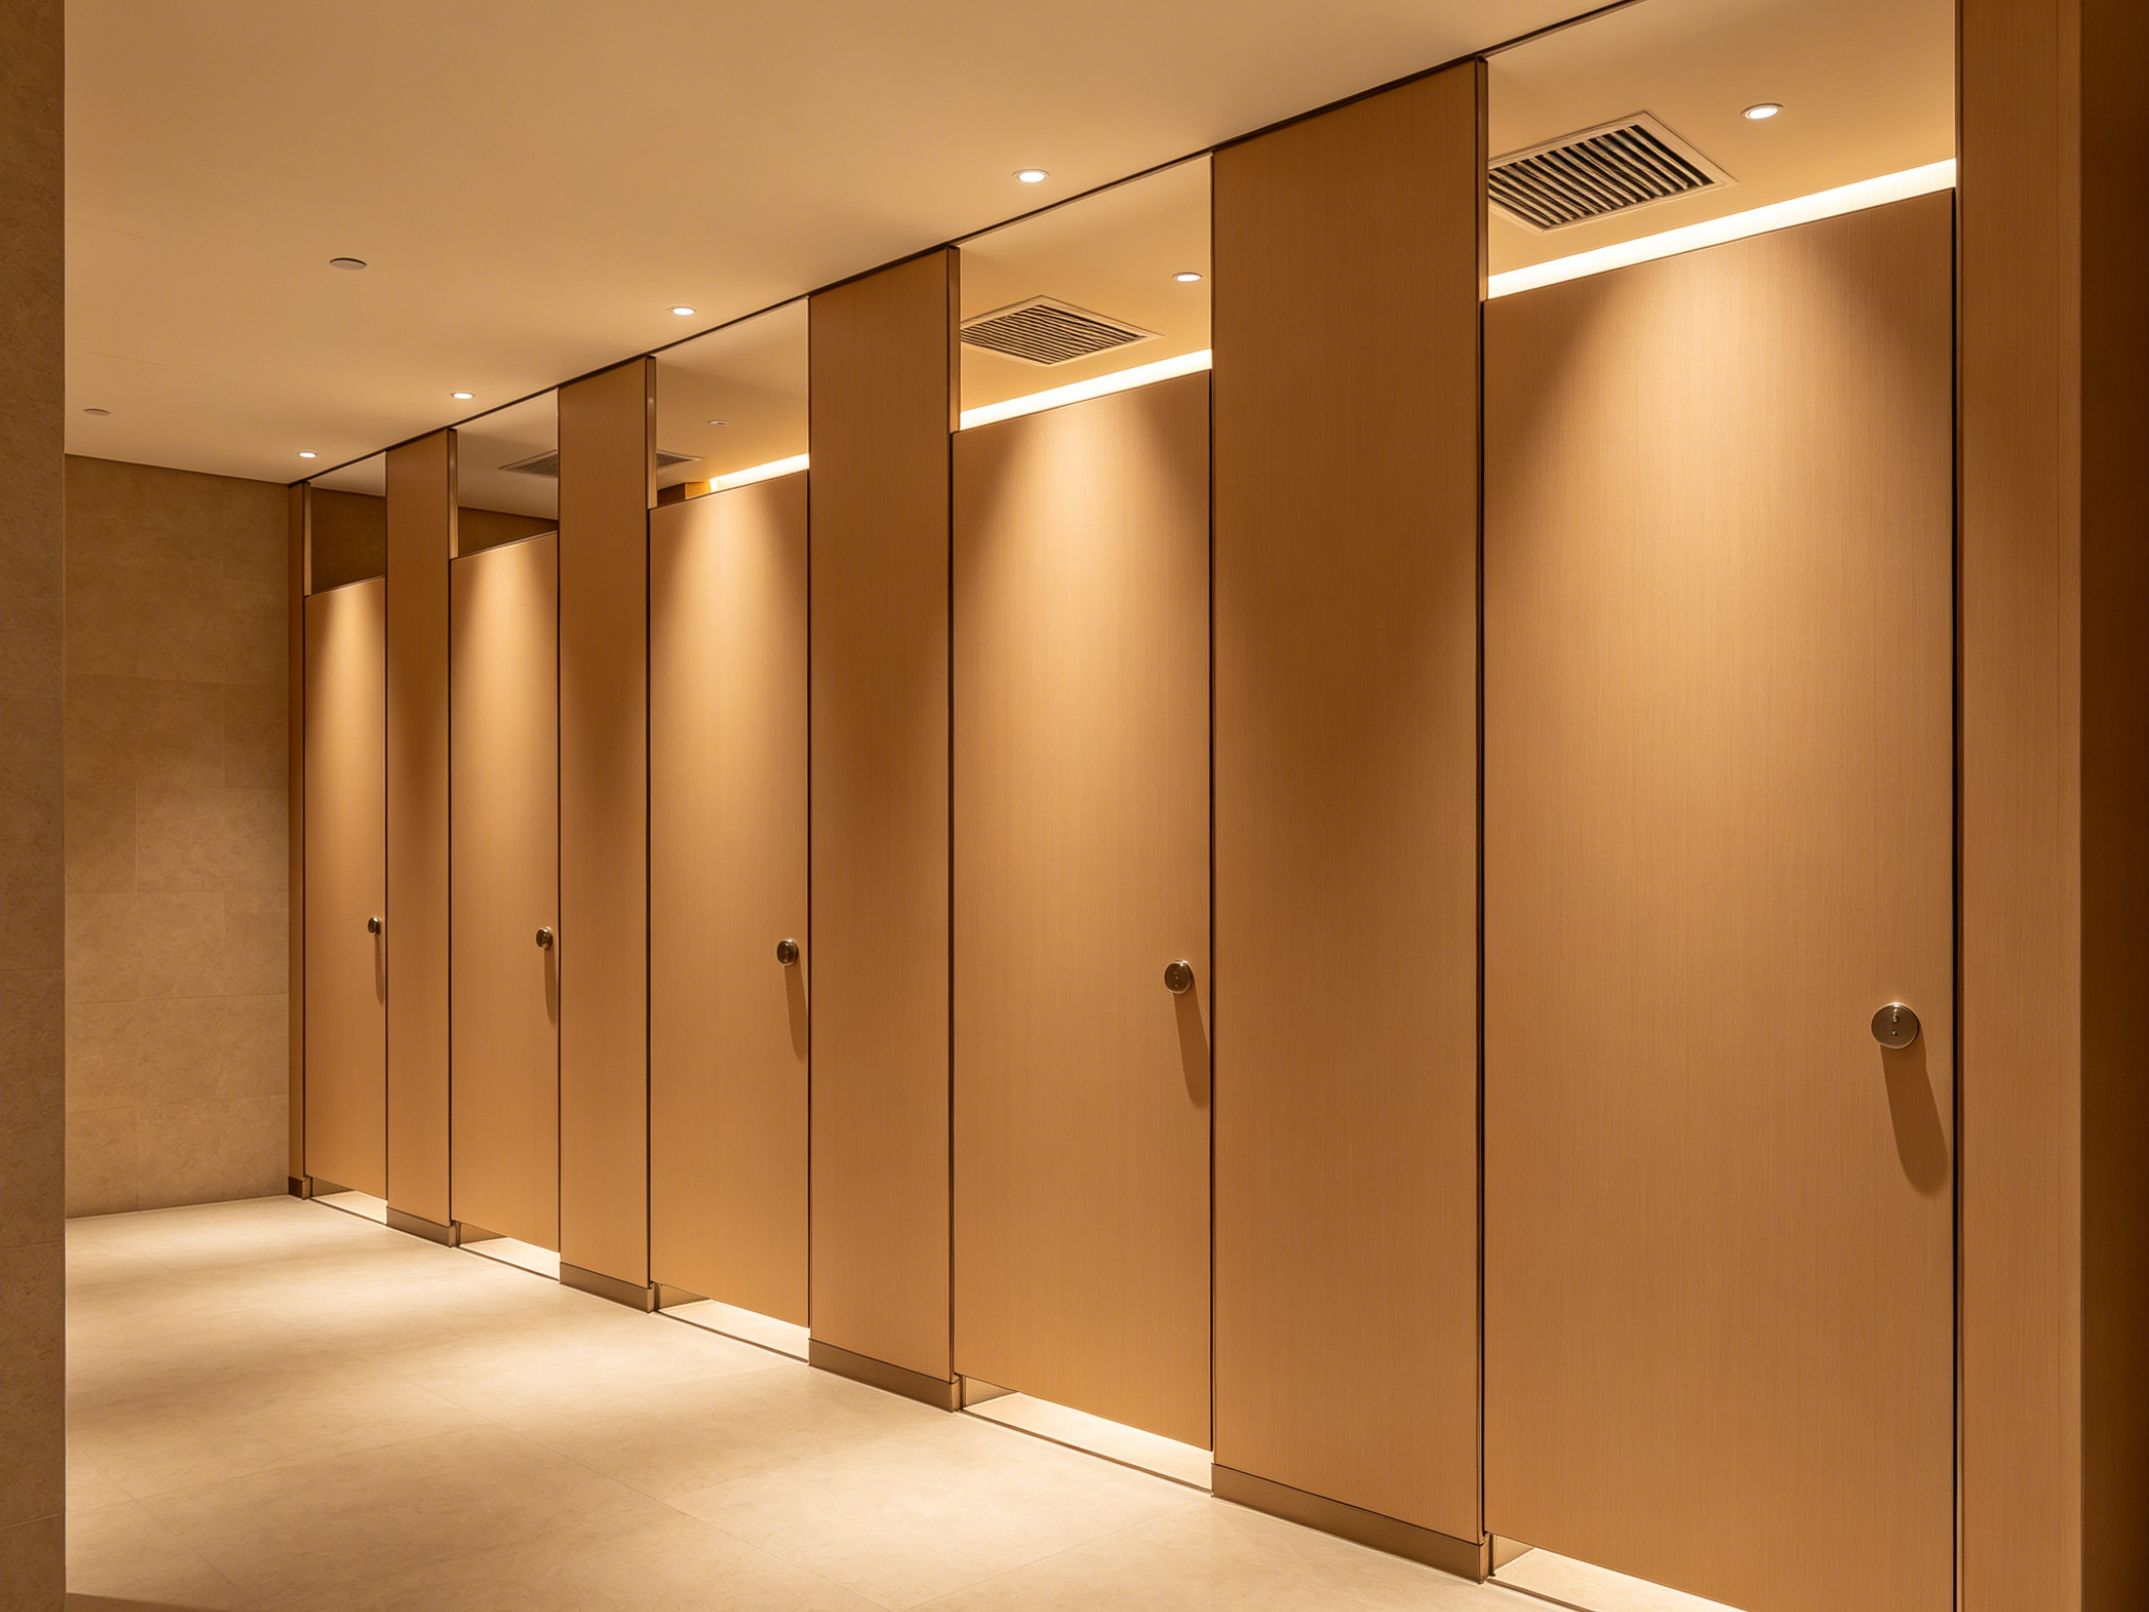
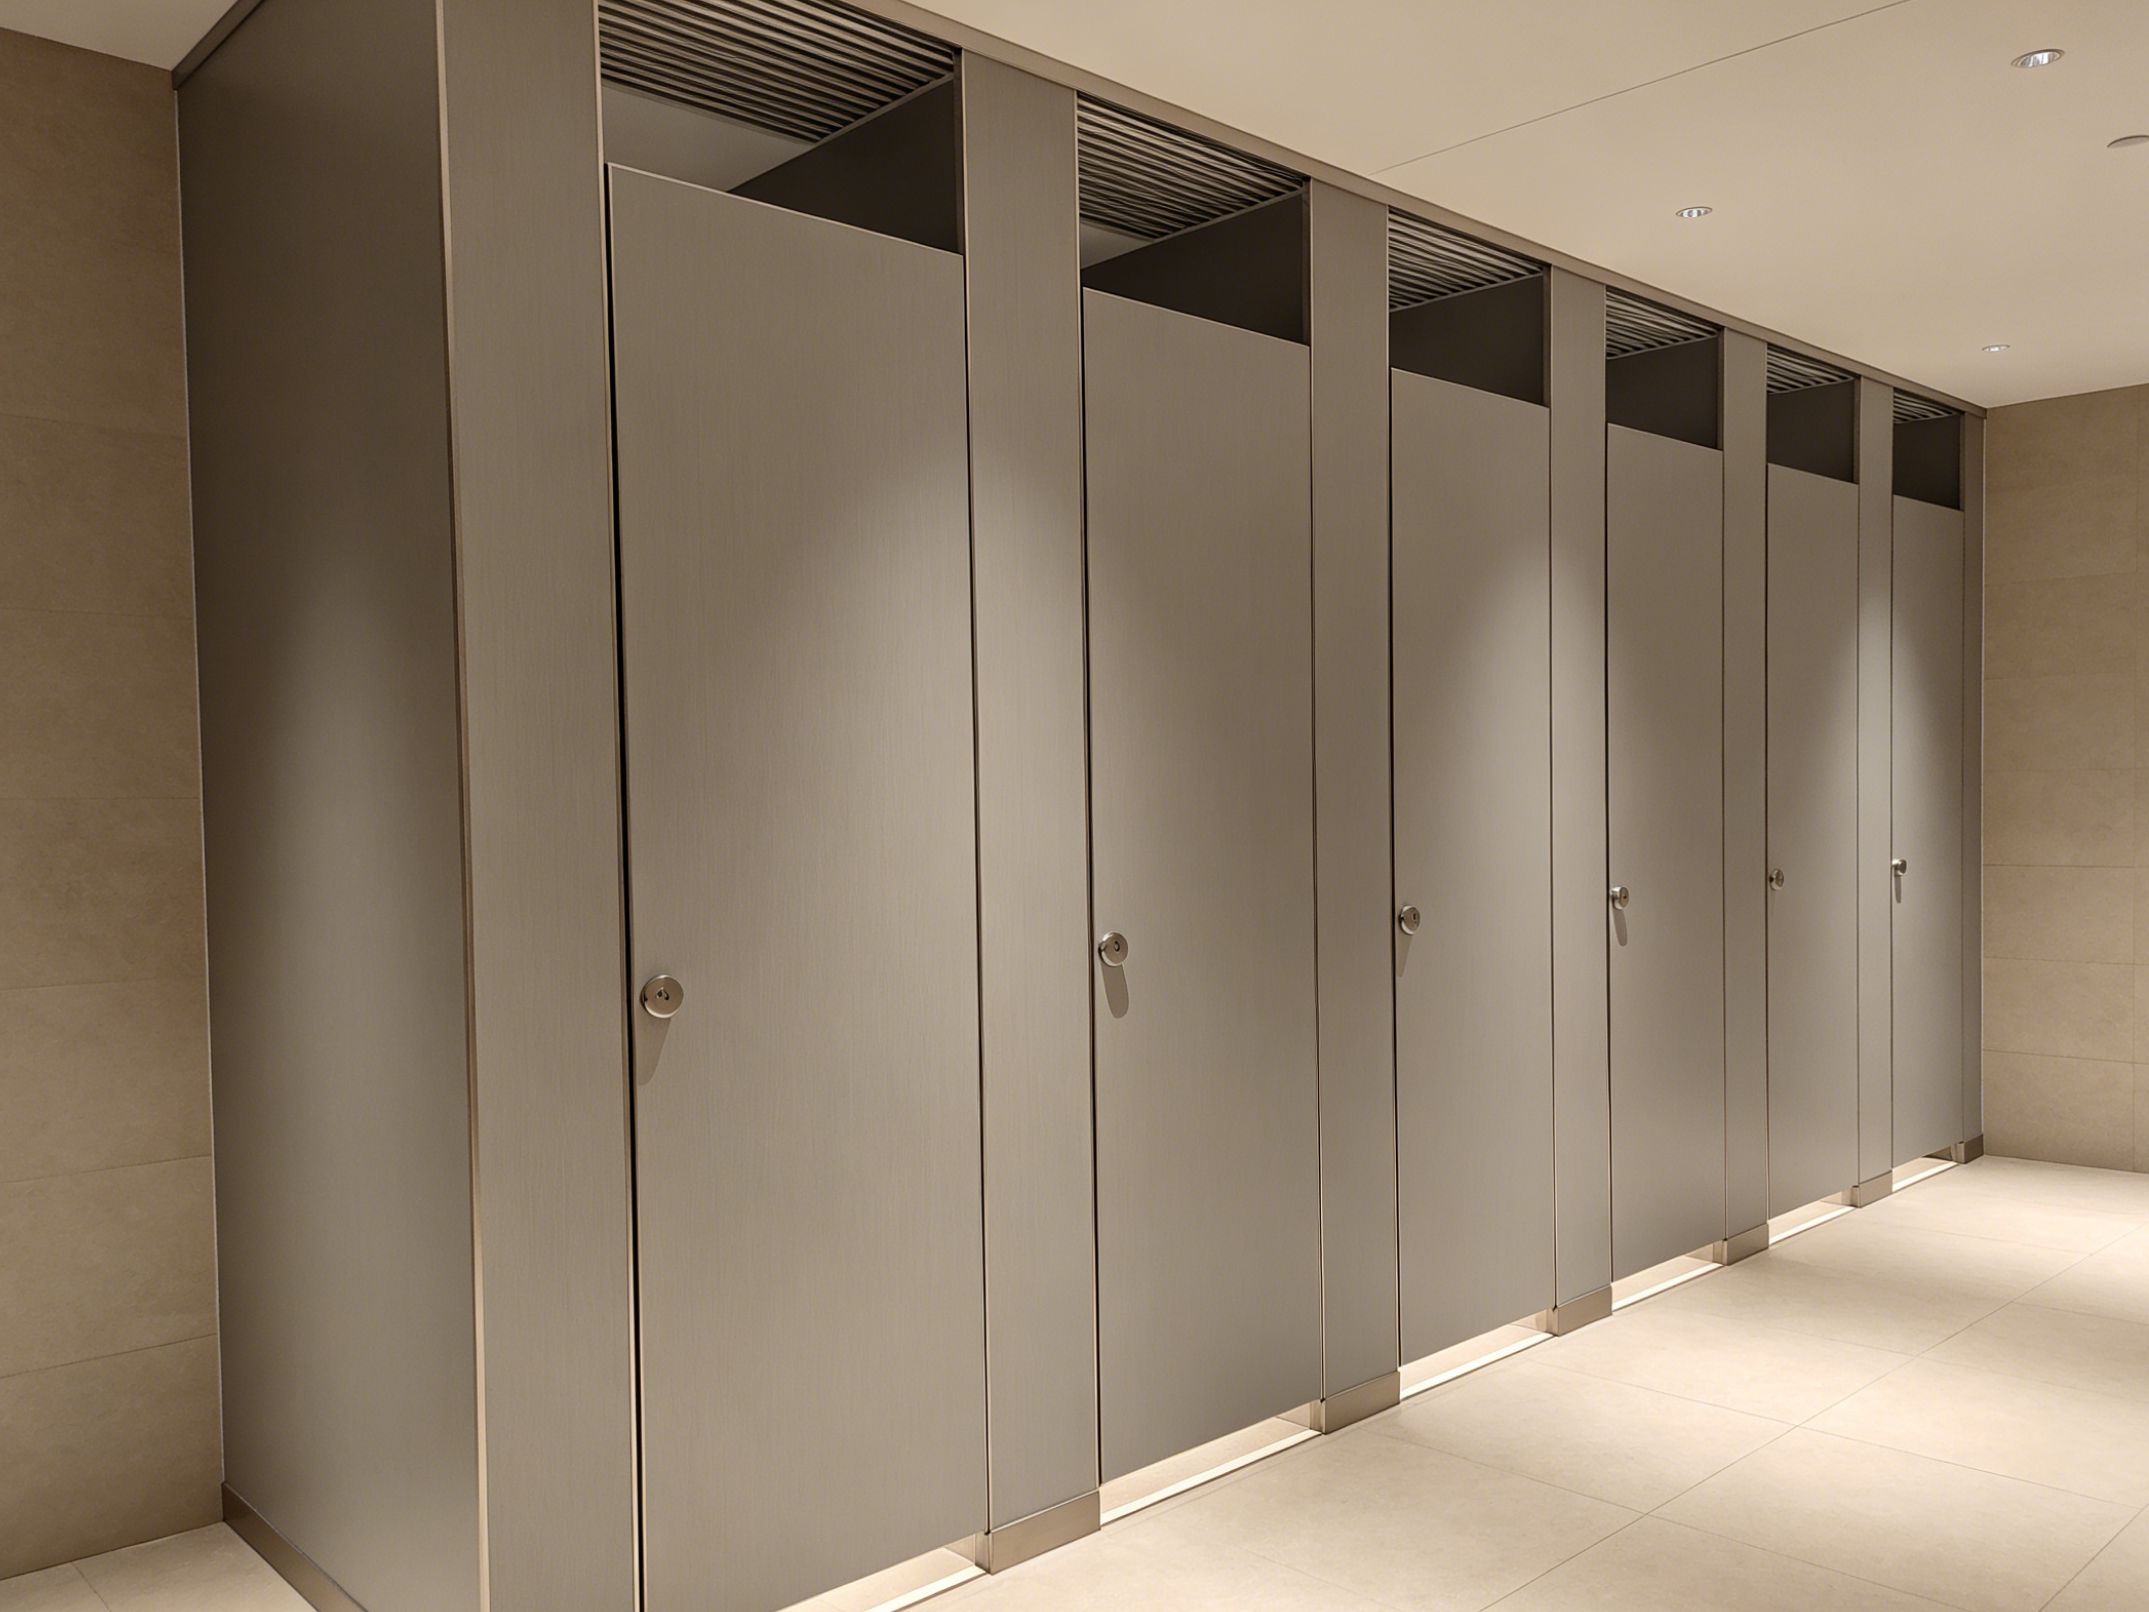
HPL Toilet Partitions: Commercial Setup Steps Guide
Streamlining Site Operations: HPL Toilet Partitions Installation
Installing HPL toilet partitions correctly is essential for ensuring long-term performance in commercial restroom projects. For on-site contractors, project engineers, and installation supervisors in the Philippines, even small assembly mistakes can create major problems after project completion.
Incorrect measurements, uneven leveling, and improper hardware installation may result in door alignment problems, loose connections, and structural sagging. These issues not only increase maintenance requirements but can also affect final project acceptance.
A standardized installation procedure helps construction teams avoid unnecessary corrections and improve overall efficiency. By following professional assembly practices, your crew can complete installation faster while maintaining reliable structural performance.
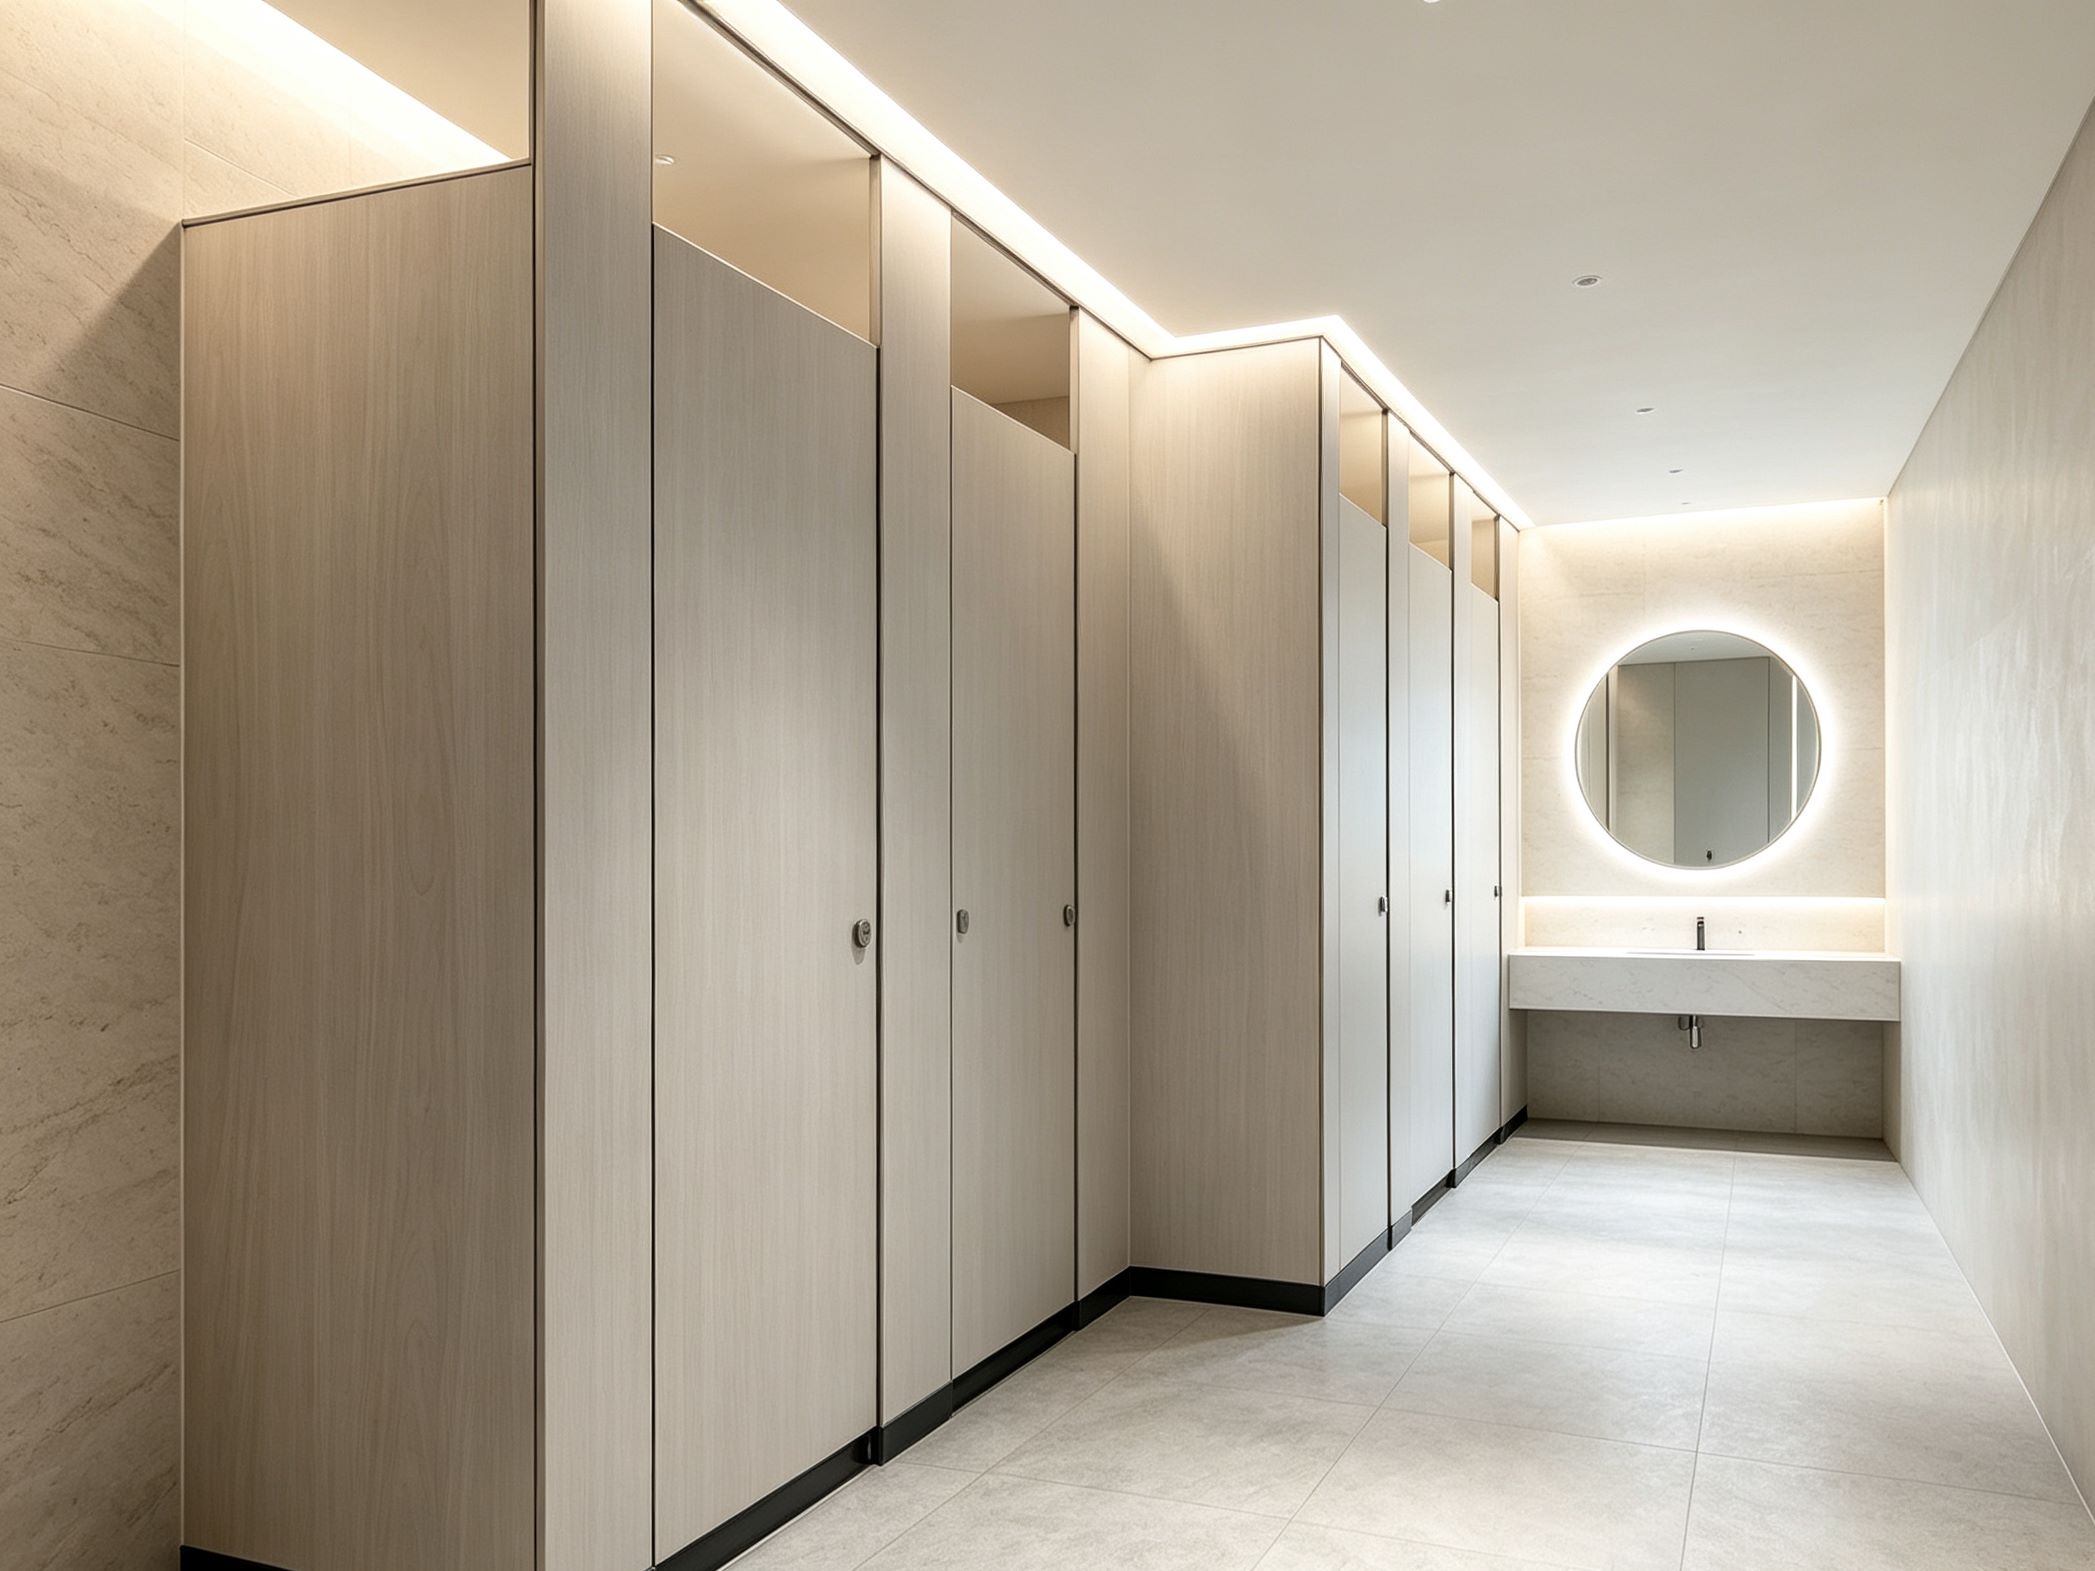
Crucial Pre-Installation Checklists for Commercial Projects
Before beginning the installation of HPL toilet partitions, the site condition must be carefully inspected. The finished floor should be level, and wall structures must provide sufficient support for brackets and anchoring systems.
Installing heavy-duty partition systems on unstable surfaces can lead to long-term movement and alignment issues. Contractors should verify wall strength, floor conditions, and the accuracy of the approved shop drawings before starting installation.
Another important step is checking all delivered components before unpacking. Compare panel dimensions, hardware packages, and accessories with the factory-approved drawings to ensure everything matches the project requirements.
Proper preparation prevents installation delays and reduces unnecessary labor costs caused by missing parts or incorrect positioning.
3 Core Technical Phases of the Assembly Process
1. Phase 1: Wall Line Marking & Bracket Mounting
The foundation of a successful partition installation begins with accurate measurement during Wall Line Marking & Bracket Mounting.
Installation teams should use professional measuring tools, such as laser levels, to mark precise vertical and horizontal reference lines. Correct positioning ensures that wall brackets and fixing points can support the partition system evenly.
During drilling and anchoring, installers must select suitable fixing methods according to the wall structure. Stable bracket installation helps prevent future movement caused by repeated door operation and daily public usage.
Accurate marking at the beginning of the project significantly reduces adjustment work during later installation stages.
2. Phase 2: Positioning Pilasters & Securing Panels
After the wall brackets are installed, the next step involves Positioning Pilasters & Securing Panels.
The partition panels should be carefully placed according to the approved layout drawings. Installers need to check vertical alignment, panel spacing, and floor clearance before fully tightening all connections.
Adjustable support components allow the team to compensate for minor floor variations while maintaining a clean and professional appearance. Proper panel positioning ensures smooth door operation and improves the overall stability of the restroom system.
Taking time during this phase helps prevent future problems such as uneven gaps, loose connections, and structural imbalance.
3. Phase 3: Hardware Accessory Fixing & Door Alignment
The final installation stage focuses on Hardware Accessory Fixing & Door Alignment.
High-quality hinges, locks, brackets, and support accessories must be installed according to the manufacturer's recommended specifications. Correct hardware adjustment ensures doors open smoothly, close properly, and maintain user privacy.
Door alignment is especially important in high-traffic environments such as commercial stadiums and public facilities. Poor adjustment can accelerate hardware wear and create unnecessary maintenance requests.
A detailed final inspection should be completed before project handover to confirm that every component operates correctly.
Maximizing Structural Lifespan in Commercial Stadiums and Public Facilities
Maintaining long-term performance of HPL toilet partitions requires coordination between the partition panels, supporting hardware, and installation quality. In high-traffic environments such as commercial stadiums and public facilities, even small installation mistakes can gradually lead to problems like excessive labor costs, hardware misalignment, and structural sagging.
Selecting suitable materials before installation is equally important. High-density HPL panels combined with reliable hardware systems provide better resistance against daily impact, frequent cleaning, and continuous public use.
To improve project reliability, procurement teams can review our detailed guide on commercial restroom partition materials to understand how different specifications affect long-term performance. After installation, following a professional restroom partition maintenance guide can also help extend product service life and reduce unnecessary repair costs.
People Also Ask (FAQ)
Q1: What is the recommended installation sequence for commercial HPL toilet partitions?
A professional installation sequence normally includes site measurement, wall bracket positioning, pilaster installation, panel fixing, hardware assembly, and final door adjustment. Following the correct order helps prevent alignment problems and improves installation efficiency.
Q2: How can contractors avoid hardware misalignment and structural sagging?
Most installation issues come from inaccurate measurements, uneven floors, or incorrect hardware adjustment. Using approved shop drawings, proper leveling tools, and manufacturer-recommended installation methods can significantly reduce these risks.
Q3: Can HPL toilet partitions be factory-prepared before shipment?
Yes. Professional manufacturers can provide pre-cut and pre-drilled panels based on approved CAD drawings. This reduces on-site modification work, minimizes material waste, and allows installation teams to complete projects faster.
Project Planning & Engineering Support
Successful restroom partition projects begin with accurate technical planning. If you're installing HPL toilet partitions for commercial stadiums and public facilities in the Philippines, our engineering team can review your layouts and provide recommendations before production or installation.
- CAD & Installation Layout Review: mrsalufcs@gmail.com
(Submit your drawings, BOQ, or installation requirements for technical verification.) - Technical Consultation: +86 13413241494
(Discuss partition layouts, hardware coordination, installation procedures, and project requirements with our engineering team.)
HPL Toilet Partitions: Commercial Care & Repair Guide
HPL Toilet Partition Manufacturer | Custom B2B Supply