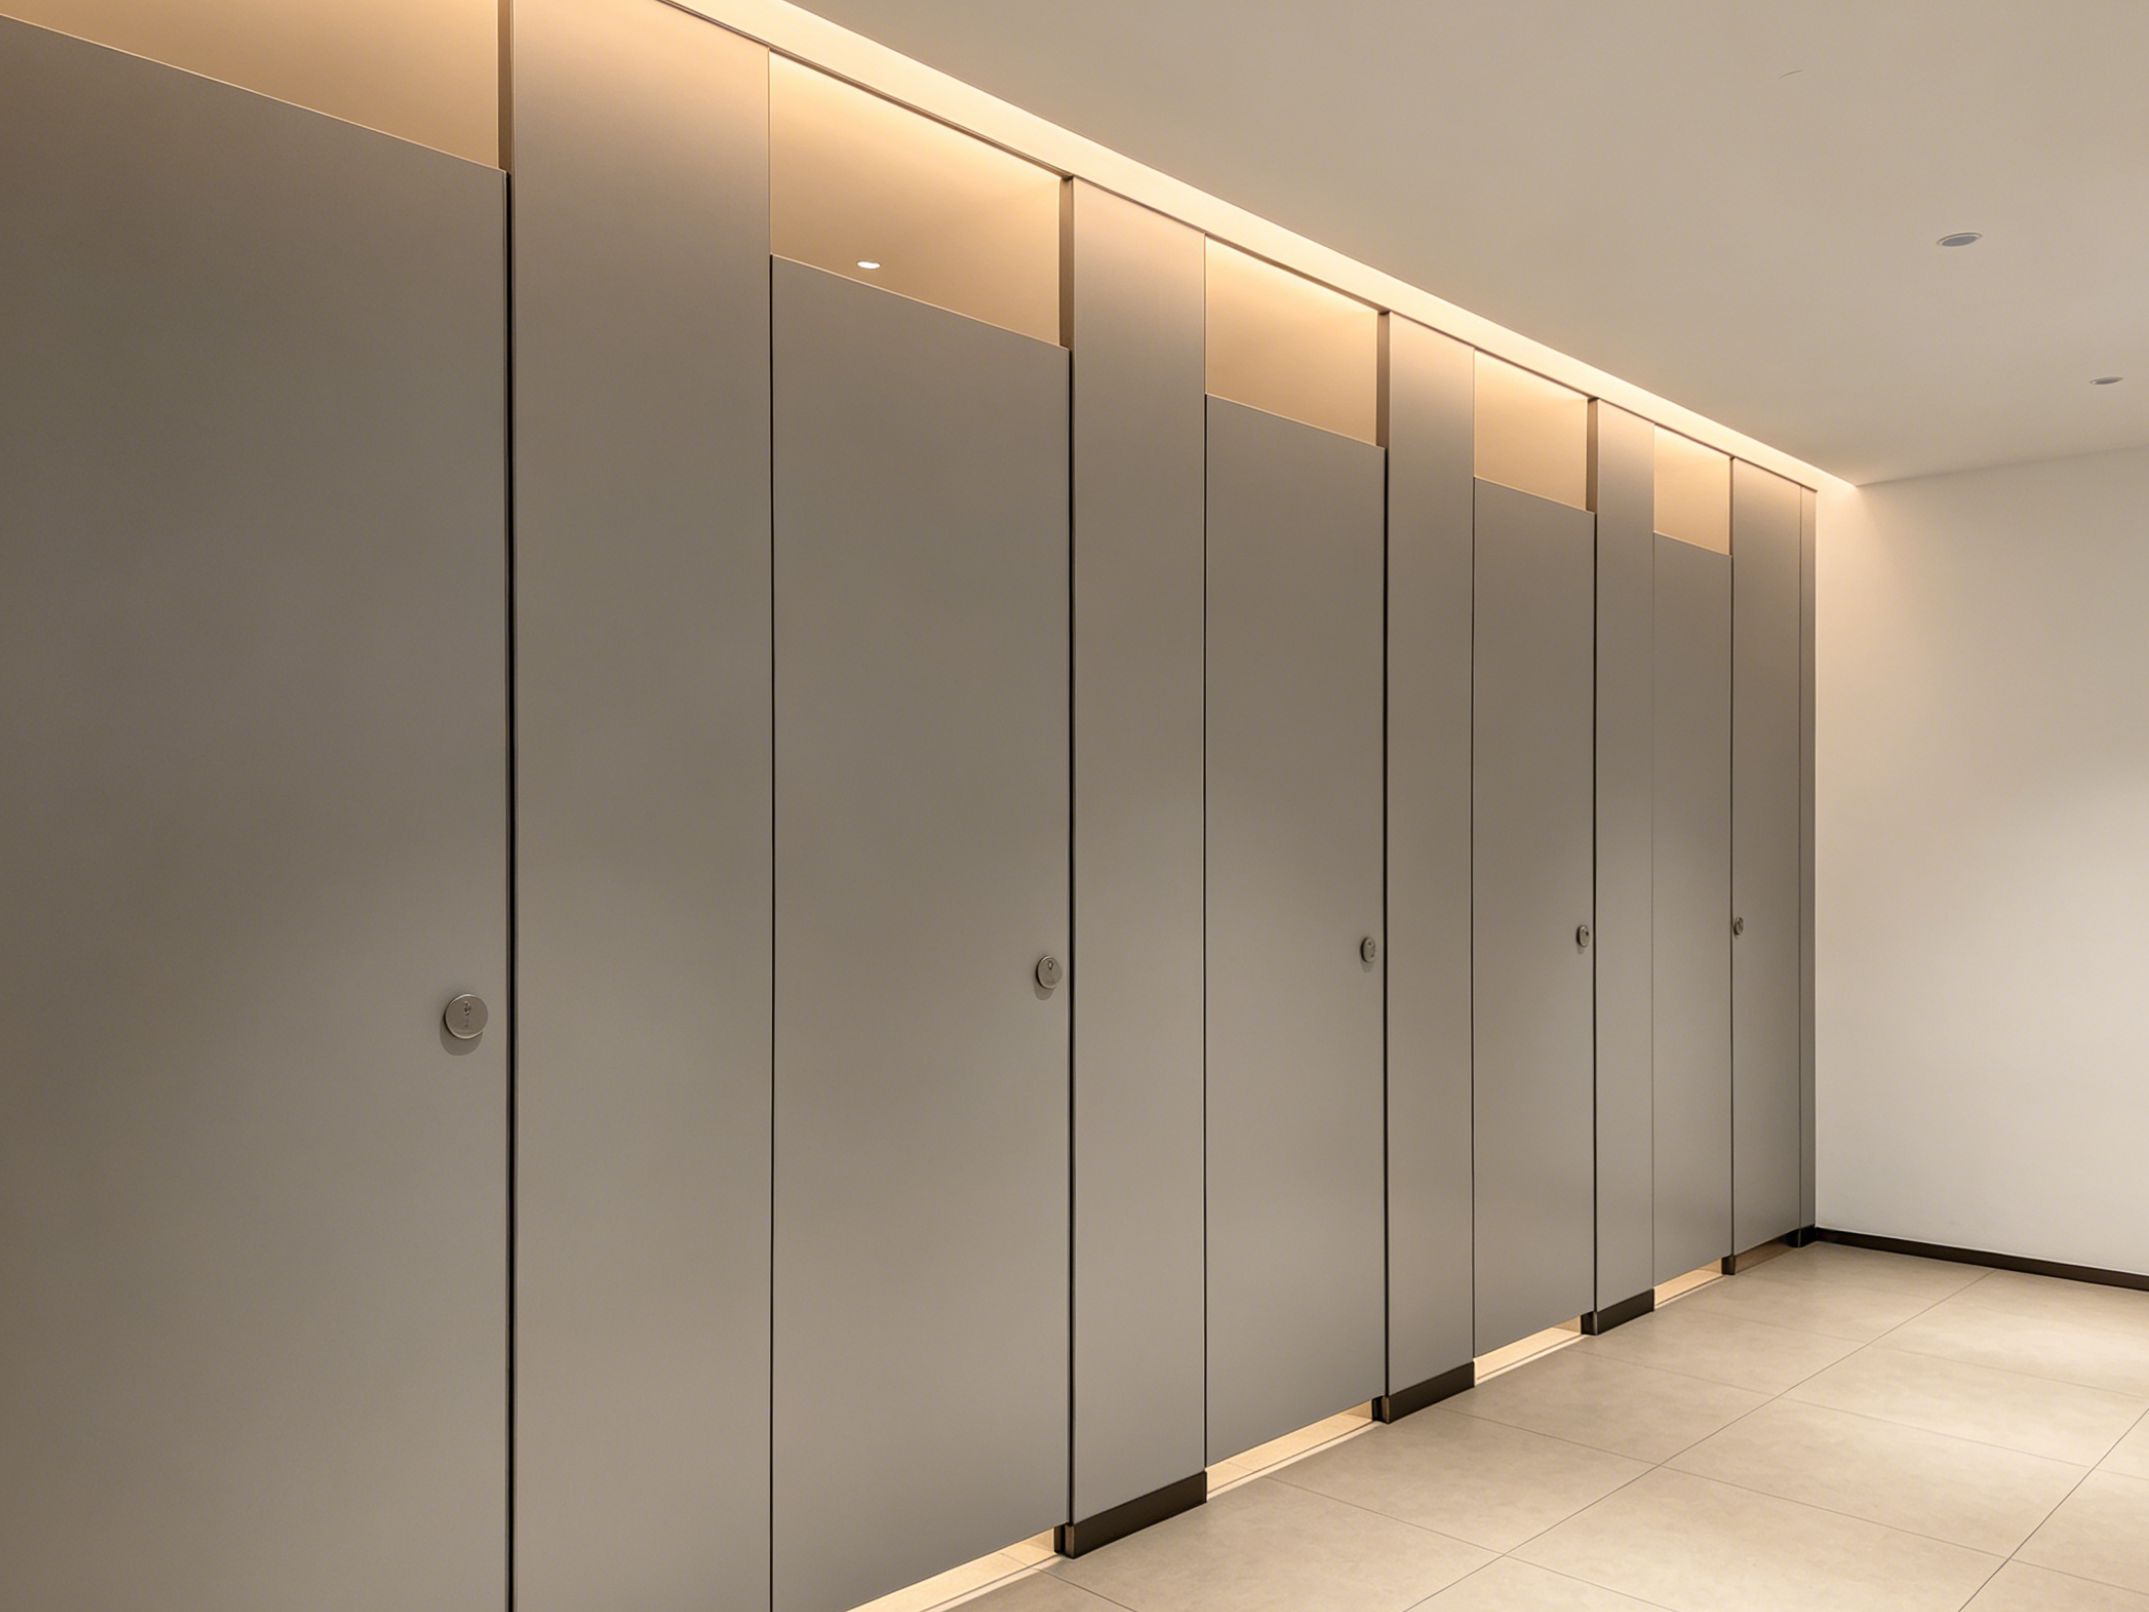
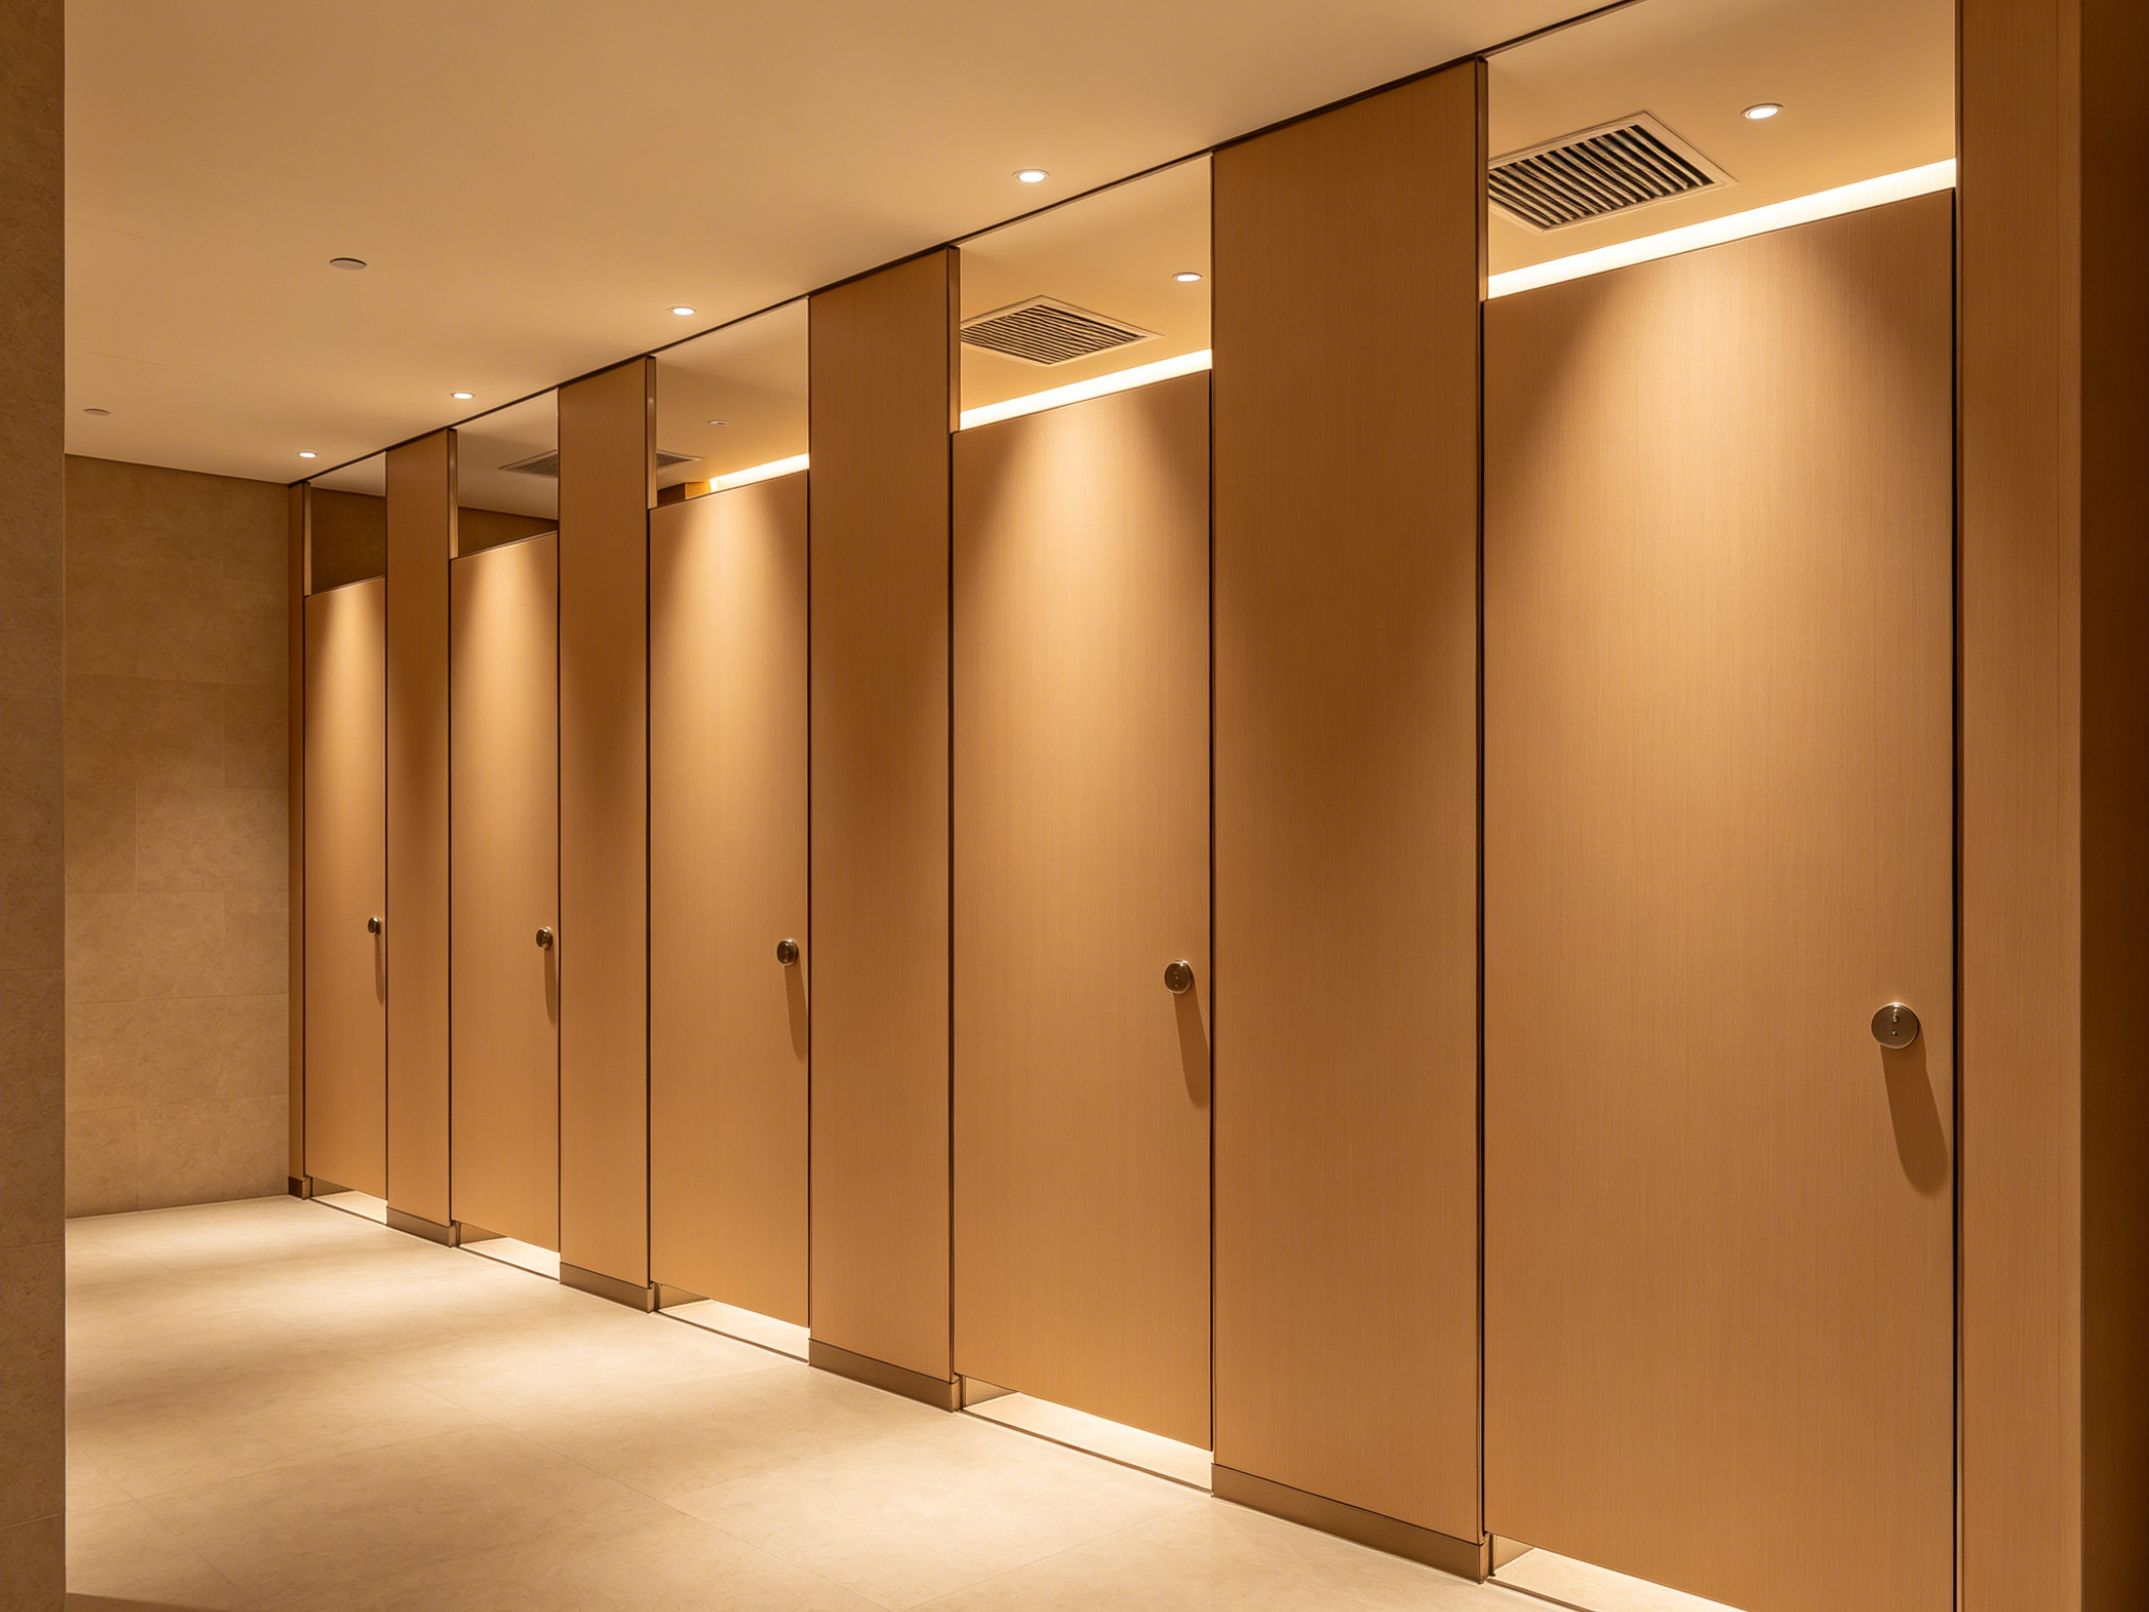
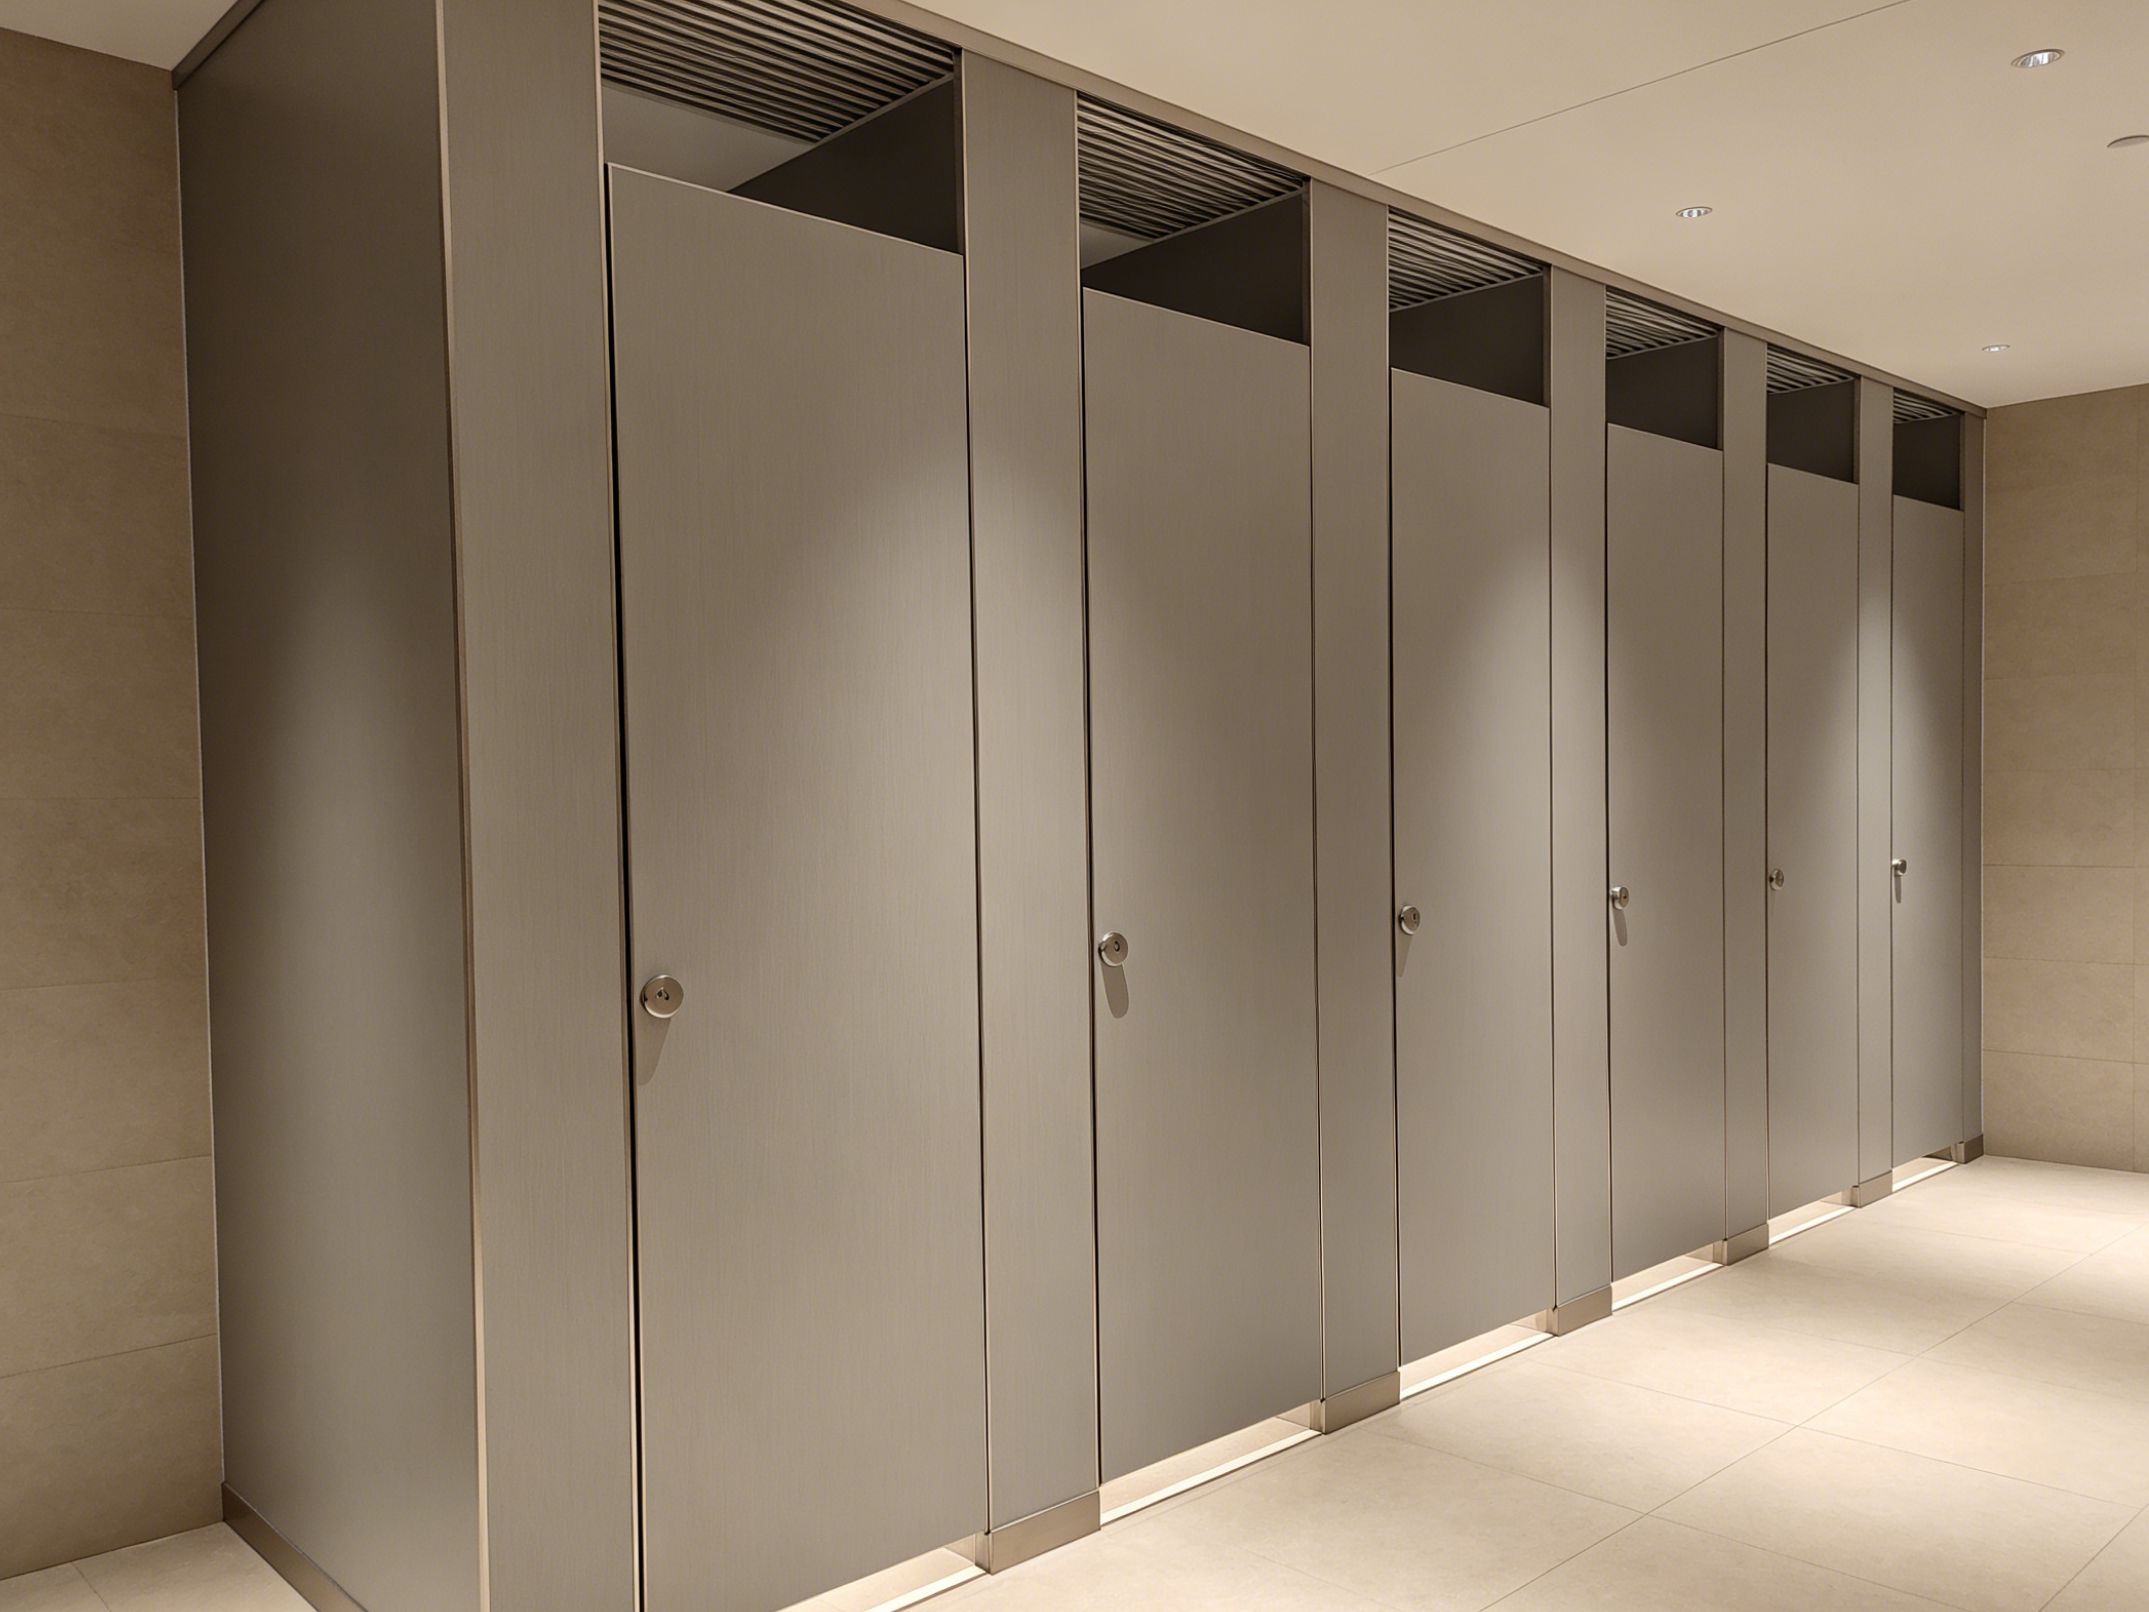
HPL Toilet Partitions Installation in Malaysia: A Practical Guide for B2B Projects

HPL Toilet Partitions Installation in Malaysia
Proper HPL toilet partitions installation is essential for achieving stable cubicles, correctly aligned doors, reliable hardware operation, and a clean finished appearance. For contractors, architects, and project developers in Malaysia, installation planning should begin before the partition panels arrive at the construction site.
Restroom partition installation involves more than fixing panels to walls and floors. Site dimensions, partition layouts, door positions, hardware, sanitary fixtures, floor conditions, and wall conditions all need to be coordinated.
A well-planned installation process can reduce site modifications, labor costs, delays, and unnecessary material waste.

Why Installation Planning Matters for HPL Toilet Partitions
Commercial restroom projects often contain multiple cubicles with different dimensions and configurations.
If the partition layout is not coordinated before production, installers may encounter problems such as incorrect dimensions, blocked fixing points, door interference, or conflicts with plumbing fixtures.
Early planning allows contractors to identify potential problems before customized panels are manufactured.
For large projects, this can significantly improve installation efficiency.
1. Confirm Site Measurements Before Production
Accurate measurements are the foundation of successful HPL toilet partitions installation.
Before production begins, the project team should verify:
- Overall restroom dimensions
- Wall-to-wall measurements
- Finished floor level
- Wall thickness
- Wall conditions
- Floor conditions
- Plumbing locations
- Sanitary fixture positions
- Door openings
- Accessible cubicle dimensions
Measurements should be based on the actual finished construction conditions whenever possible.
If the building is still under construction, the expected finished dimensions should be clearly communicated to the manufacturer.
2. Review CAD Drawings and Partition Layouts
CAD drawings help connect the architectural design with factory production and site installation.
A complete partition drawing should show:
- Cubicle dimensions
- Panel positions
- Door positions
- Door opening direction
- Partition height
- Wall connections
- Floor connections
- Hardware locations
- Fixture positions
Before production, contractors should confirm that the latest approved drawing is being used.
This reduces the risk of manufacturing components according to outdated dimensions.
3. Coordinate Hardware Before Installation
Hardware should be confirmed before panels arrive on site.
Typical components include:
- Hinges
- Privacy locks
- Handles
- Indicator bolts
- Brackets
- Support feet
- Floor fixings
- Wall fixings
Different hardware configurations can affect door dimensions, panel positions, and fixing requirements.
Early hardware coordination helps installers avoid making unnecessary adjustments during installation.
4. Check Wall and Floor Conditions
The condition of the building structure can directly affect partition installation.
Installers should check whether walls and floors provide suitable fixing conditions.
Important factors include:
- Floor level
- Wall straightness
- Fixing strength
- Floor finish
- Wall finish
- Waterproofing
- Drainage
- Existing obstacles
If the floor is uneven, the installation team may need to make appropriate adjustments according to the approved installation method.
Identifying these conditions before installation can prevent delays.
5. Plan the Door Opening Direction
Door operation should be considered during the layout stage.
The door opening direction should not interfere with:
- Adjacent cubicles
- Hand basins
- Toilets
- Walls
- Circulation areas
- Accessible restroom movement
For accessible facilities, door operation and circulation require particularly careful coordination.
The final layout should be reviewed before production rather than modified after the panels have been manufactured.
HPL Toilet Partitions Installation Sequence
A typical installation workflow may include several stages.
Step 1: Verify Delivered Components
Check the delivered panels, doors, hardware, and accessories against the approved drawings and packing list.
Step 2: Mark the Layout
Mark the partition centerlines and fixing positions according to the approved layout.
Step 3: Install Support Components
Install suitable brackets, support feet, or other structural components according to the system design.
Step 4: Position Partition Panels
Position the panels according to the approved dimensions and layout.
Step 5: Install Doors
Install doors and adjust hinges so that the doors operate smoothly.
Step 6: Install Locks and Accessories
Install privacy locks, handles, indicator bolts, and other specified hardware.
Step 7: Check Alignment
Verify panel alignment, door gaps, verticality, and hardware operation.
Step 8: Complete Final Inspection
Inspect the entire restroom area before handover.
How to Reduce HPL Toilet Partitions Installation Labor
Labor costs can increase when installers need to repeatedly measure, cut, drill, or modify panels on site.
Contractors can improve efficiency through:
- Accurate site measurements
- Detailed CAD drawings
- Factory processing
- Standardized hardware
- Clear component labeling
- Complete hardware packages
- Installation instructions
- Proper delivery sequencing
Factory processing can reduce unnecessary site fabrication and allow installers to focus on assembly and adjustment.
Factory Processing vs Site Modification
Customized restroom partitions can be manufactured according to approved project dimensions.
Factory processing may include:
- Panel cutting
- Edge processing
- Door preparation
- Hardware preparation
- Dimension control
- Component labeling
Site modification should be minimized wherever possible.
Unplanned cutting or drilling can increase labor requirements and may affect the finished appearance.
Coordinating Installation With Other Trades
Restroom partition installation should not be planned independently from the rest of the fit-out process.
Contractors should coordinate with:
- Plumbing teams
- Flooring contractors
- Wall finishing teams
- Sanitary fixture installers
- Electrical contractors
- Ceiling contractors
- Cleaning teams
For example, sanitary fixtures should be positioned correctly before final partition dimensions are confirmed.
Floor finishes should also be considered when determining final partition heights and fixing positions.
Installation Considerations for Different Malaysia Projects
Different applications can create different installation requirements.
Commercial Office Buildings
Office restrooms generally require efficient installation with minimal disruption to other interior work.
Public Schools
School restroom layouts may require durable partitions and carefully planned circulation.
Shopping Malls
Large numbers of cubicles can make installation sequencing and component labeling particularly important.
Hospitals and Clinics
Healthcare projects may require careful coordination of accessibility, hygiene, and operational requirements.
Hotels
Guest-facing restrooms may place additional emphasis on visual alignment and finish quality.
Factories
Worker restrooms can involve high cubicle quantities and repeated daily usage.
The installation approach should therefore be adapted to the project's actual environment.
How to Prevent Installation Problems
Several common issues can be prevented through early coordination.
Incorrect Dimensions
Use verified site measurements and approved drawings.
Door Misalignment
Check hinges, panel positions, and floor levels before final adjustment.
Hardware Conflicts
Confirm hardware specifications before production.
Uneven Panels
Verify wall and floor conditions before fixing.
Plumbing Interference
Coordinate sanitary fixtures and partition layouts in advance.
Missing Components
Check the packing list immediately after delivery.
A structured installation checklist can reduce avoidable site delays.
Final Inspection Checklist
Before project handover, installers should inspect:
- Panel alignment
- Panel verticality
- Door operation
- Door gaps
- Lock operation
- Hinge adjustment
- Handle installation
- Bracket fixing
- Support feet
- Floor fixing
- Wall fixing
- Surface condition
- Hardware condition
Any adjustment should be completed before final cleaning and handover.
How Installation Quality Affects Long-Term Maintenance
Correct installation can influence the future performance of the restroom partition system.
Poor alignment may cause doors to rub or fail to close correctly. Loose hardware can also increase maintenance requirements over time.
Properly installed panels and hardware can make routine inspection and adjustment easier.
For large facilities, a documented installation record can also help maintenance teams understand the original system configuration.
Common HPL Toilet Partitions Installation Mistakes
Installing Without Final Measurements
Using preliminary dimensions can create problems when actual site conditions differ.
Using Outdated Drawings
Production and installation should always follow the latest approved version.
Installing Hardware at the Last Minute
Hardware requirements can affect panel and door configuration.
Ignoring Floor Conditions
Uneven floors can affect panel alignment and door operation.
Modifying Panels Excessively On Site
Unplanned site fabrication can increase labor and reduce installation consistency.
Skipping Final Inspection
Small alignment or hardware problems can become more difficult to correct after handover.
People Also Ask (FAQ)
Q1: How are HPL toilet partitions installed?
Installation generally involves site measurement, layout marking, support installation, panel positioning, door installation, hardware installation, alignment adjustment, and final inspection.
Q2: Can HPL toilet partitions be installed directly from CAD drawings?
CAD drawings provide important installation information, but actual site conditions should also be verified before production and installation.
Q3: Can factory processing reduce installation labor?
Yes. Accurate factory processing can reduce unnecessary cutting, drilling, and modification at the project site.
Q4: What should contractors check before HPL toilet partition installation?
Contractors should check dimensions, wall and floor conditions, plumbing positions, hardware, fixing points, approved drawings, and delivered components.
Q5: How long does HPL toilet partition installation take?
Installation time depends on the number of cubicles, layout complexity, site conditions, hardware configuration, and preparation level. Accurate factory processing and organized site coordination can help improve installation efficiency.
Project Planning & Engineering Support
Successful restroom partition installation begins with accurate planning. If you're developing specifications for commercial offices, public schools, shopping malls, hospitals, clinics, hotels, factories, airports, or other projects in Malaysia, our engineers can review your CAD drawings and BOQ and help coordinate suitable HPL toilet partition solutions before production begins.
- CAD & Specification Review: mrsalufcs@gmail.com (Submit your drawings or BOQ for engineering verification.)
- Technical Consultation: +86 15207652902 (Consult our team on partition layouts, installation planning, hardware selection, customization, and project coordination.)
HPL Toilet Partitions Installation Cost in Malaysia: Labor, Materials and Project Budget
HPL Toilet Partitions Manufacturer in Malaysia: How to Choose a Reliable B2B Supplier