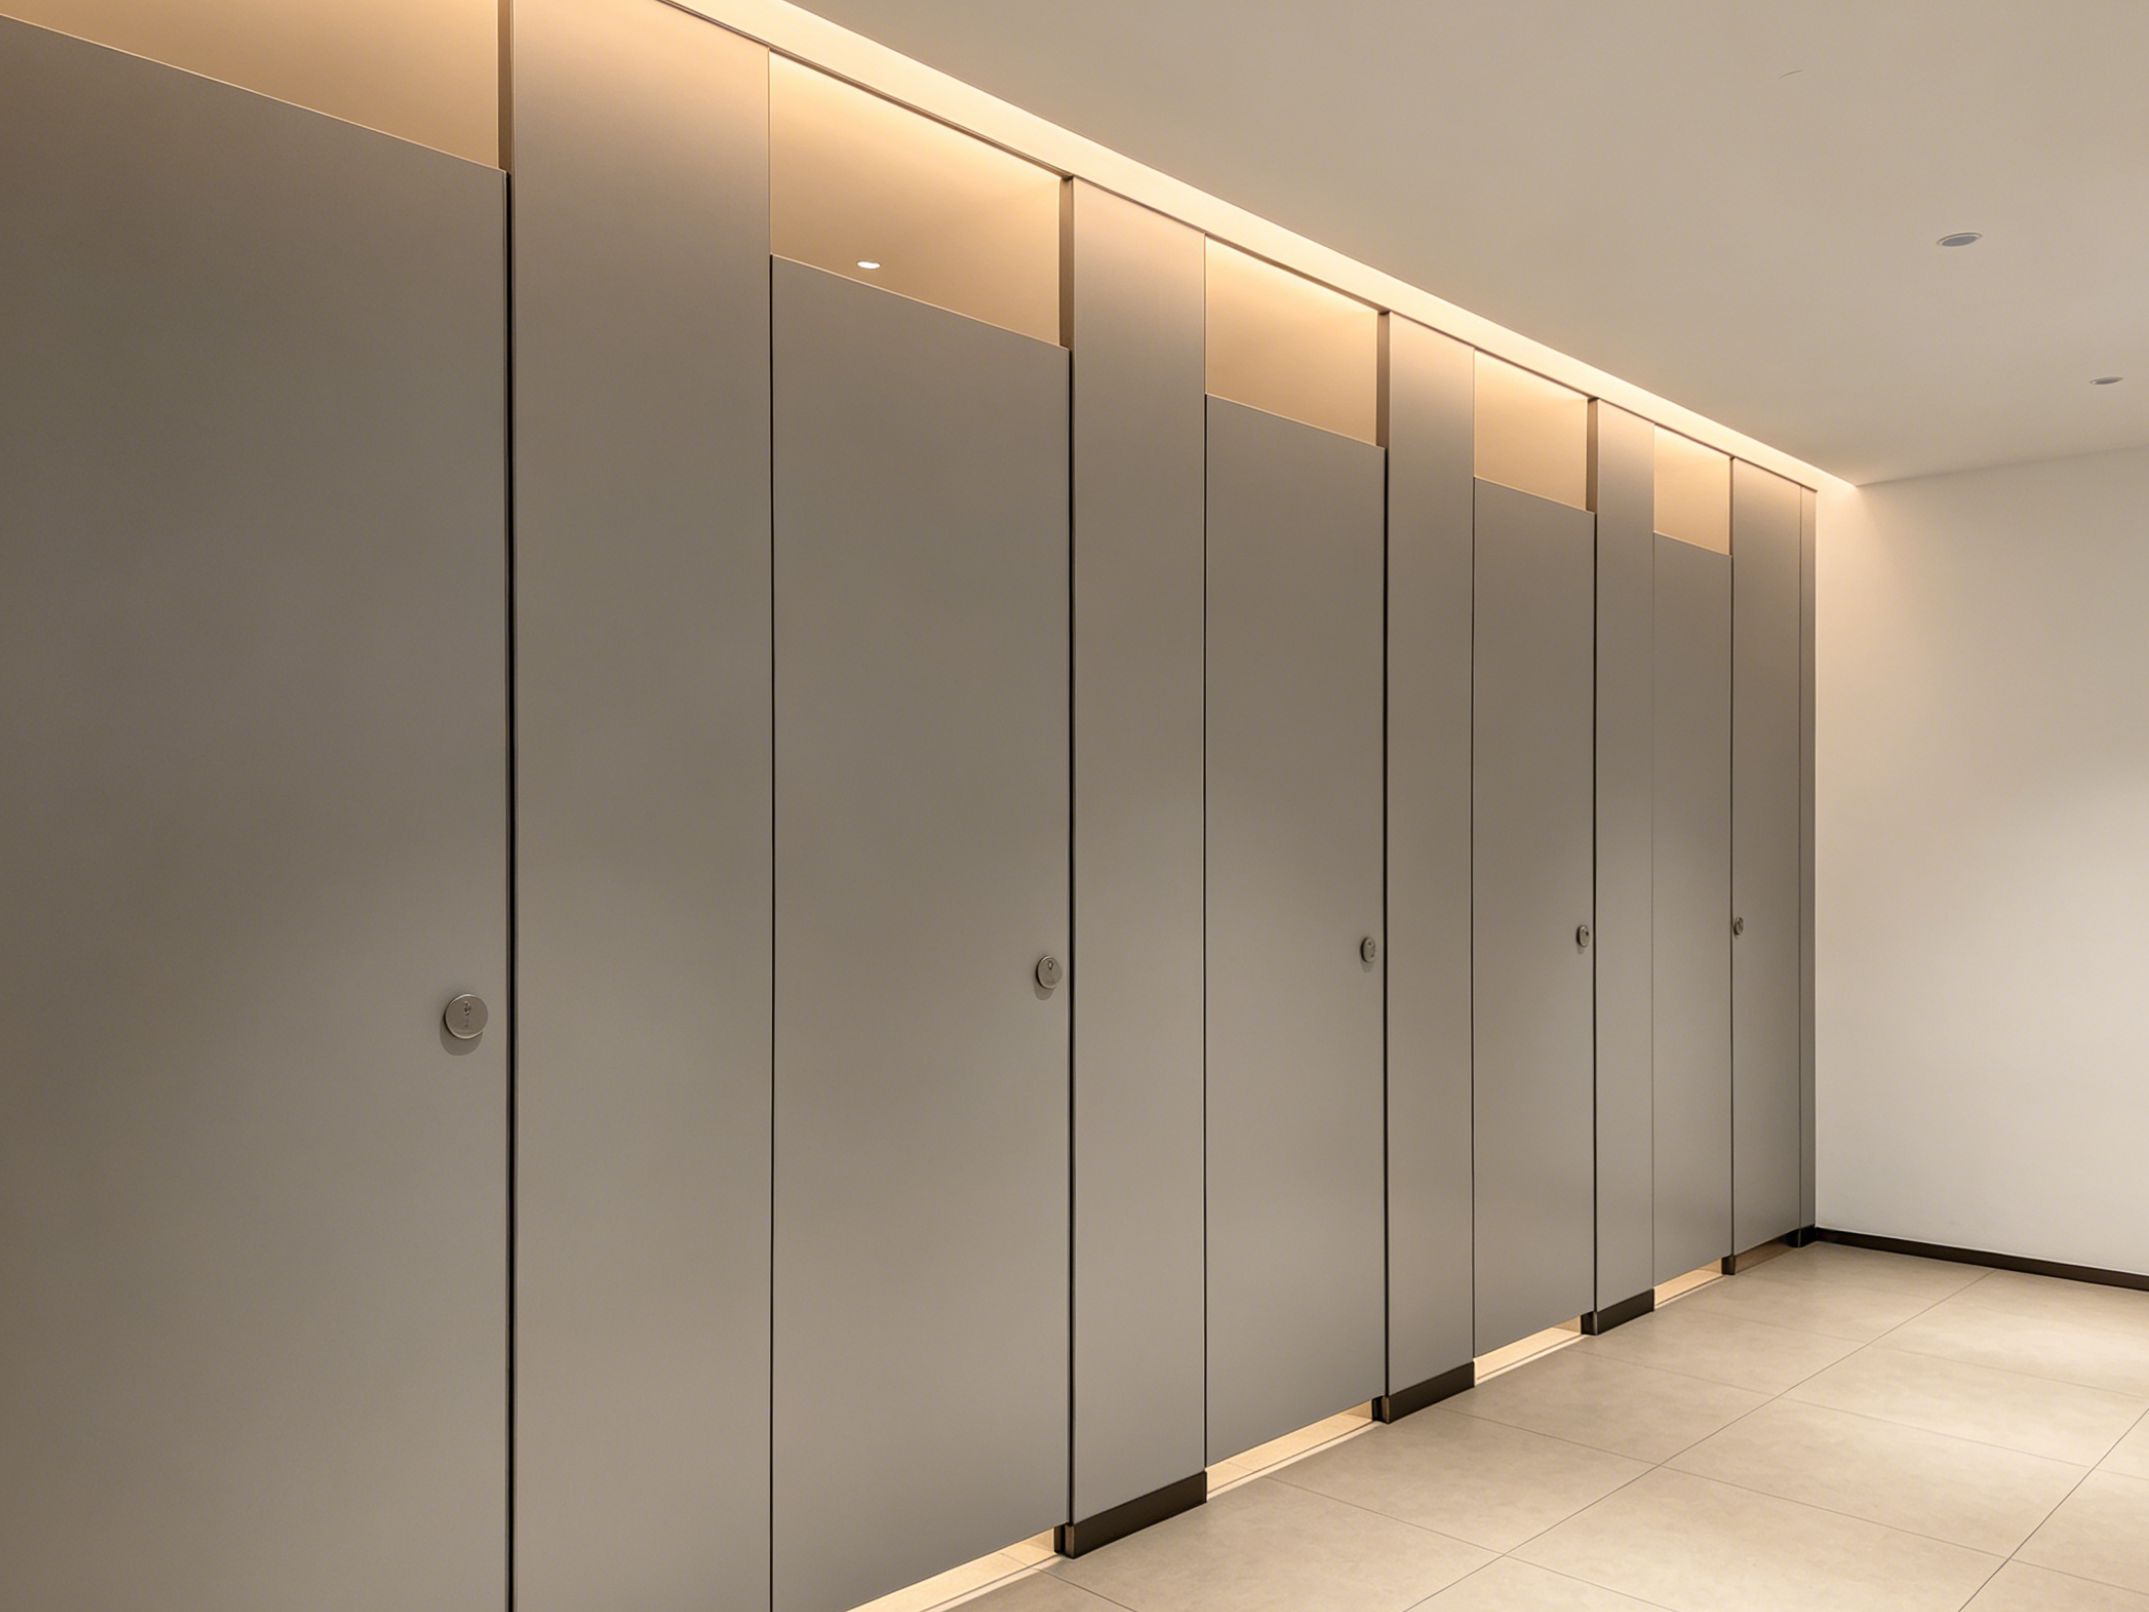
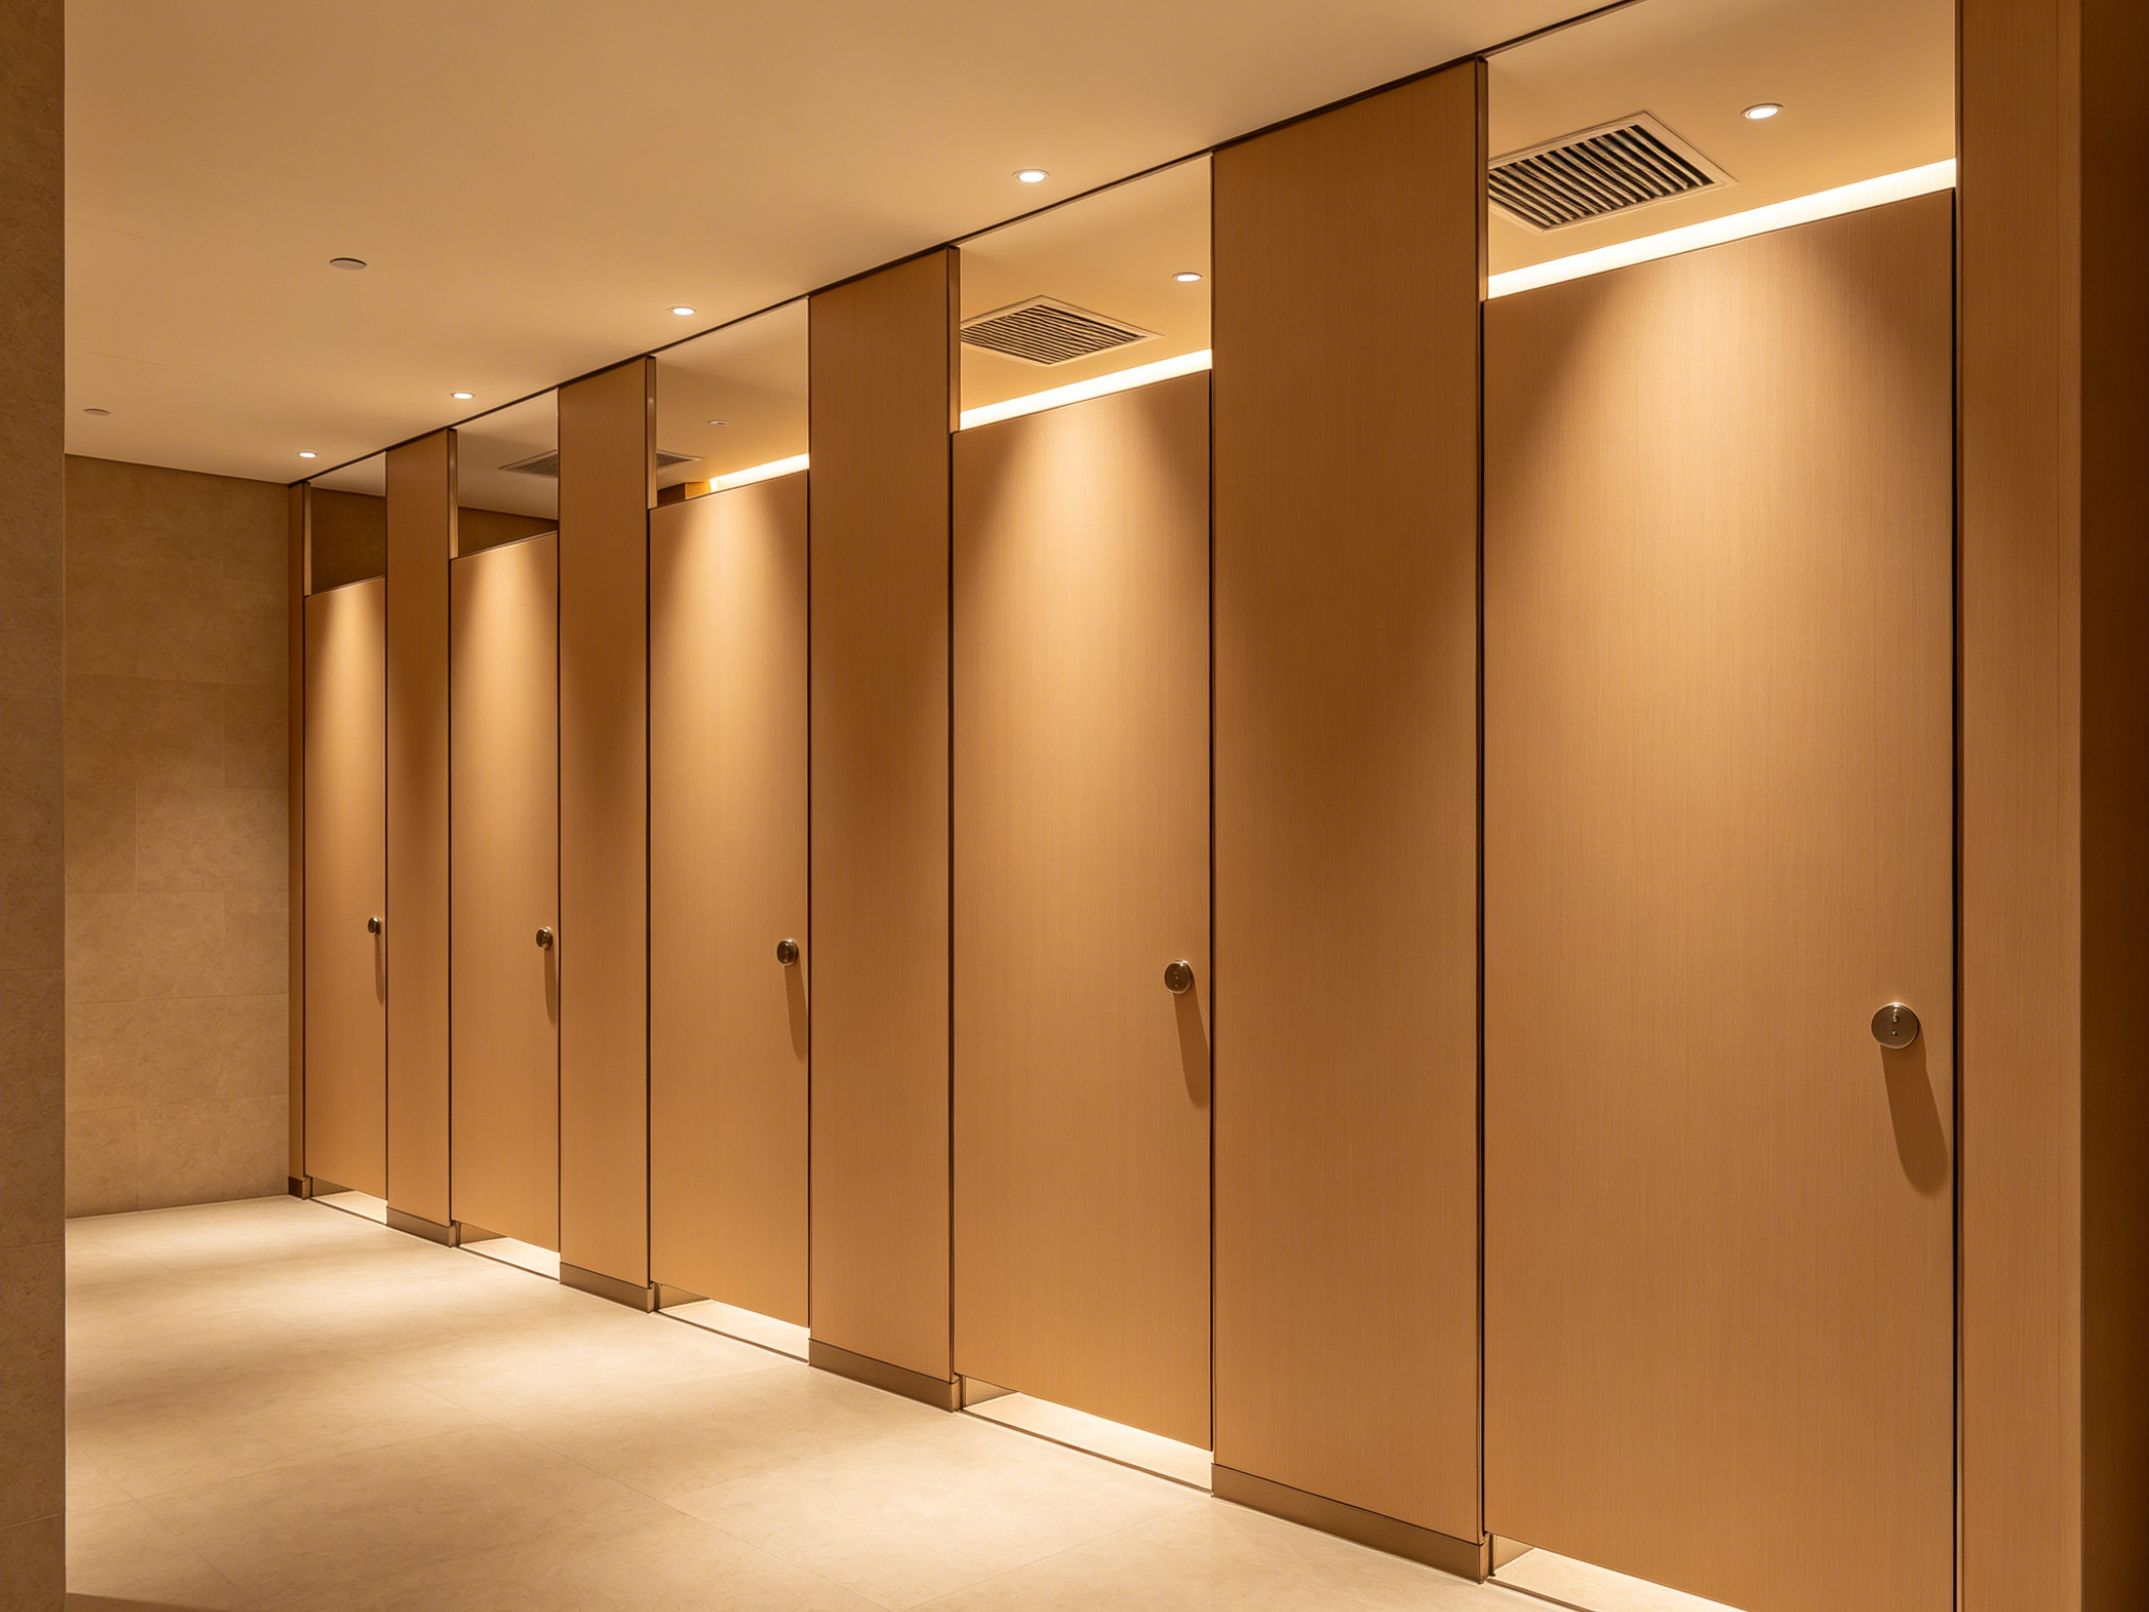
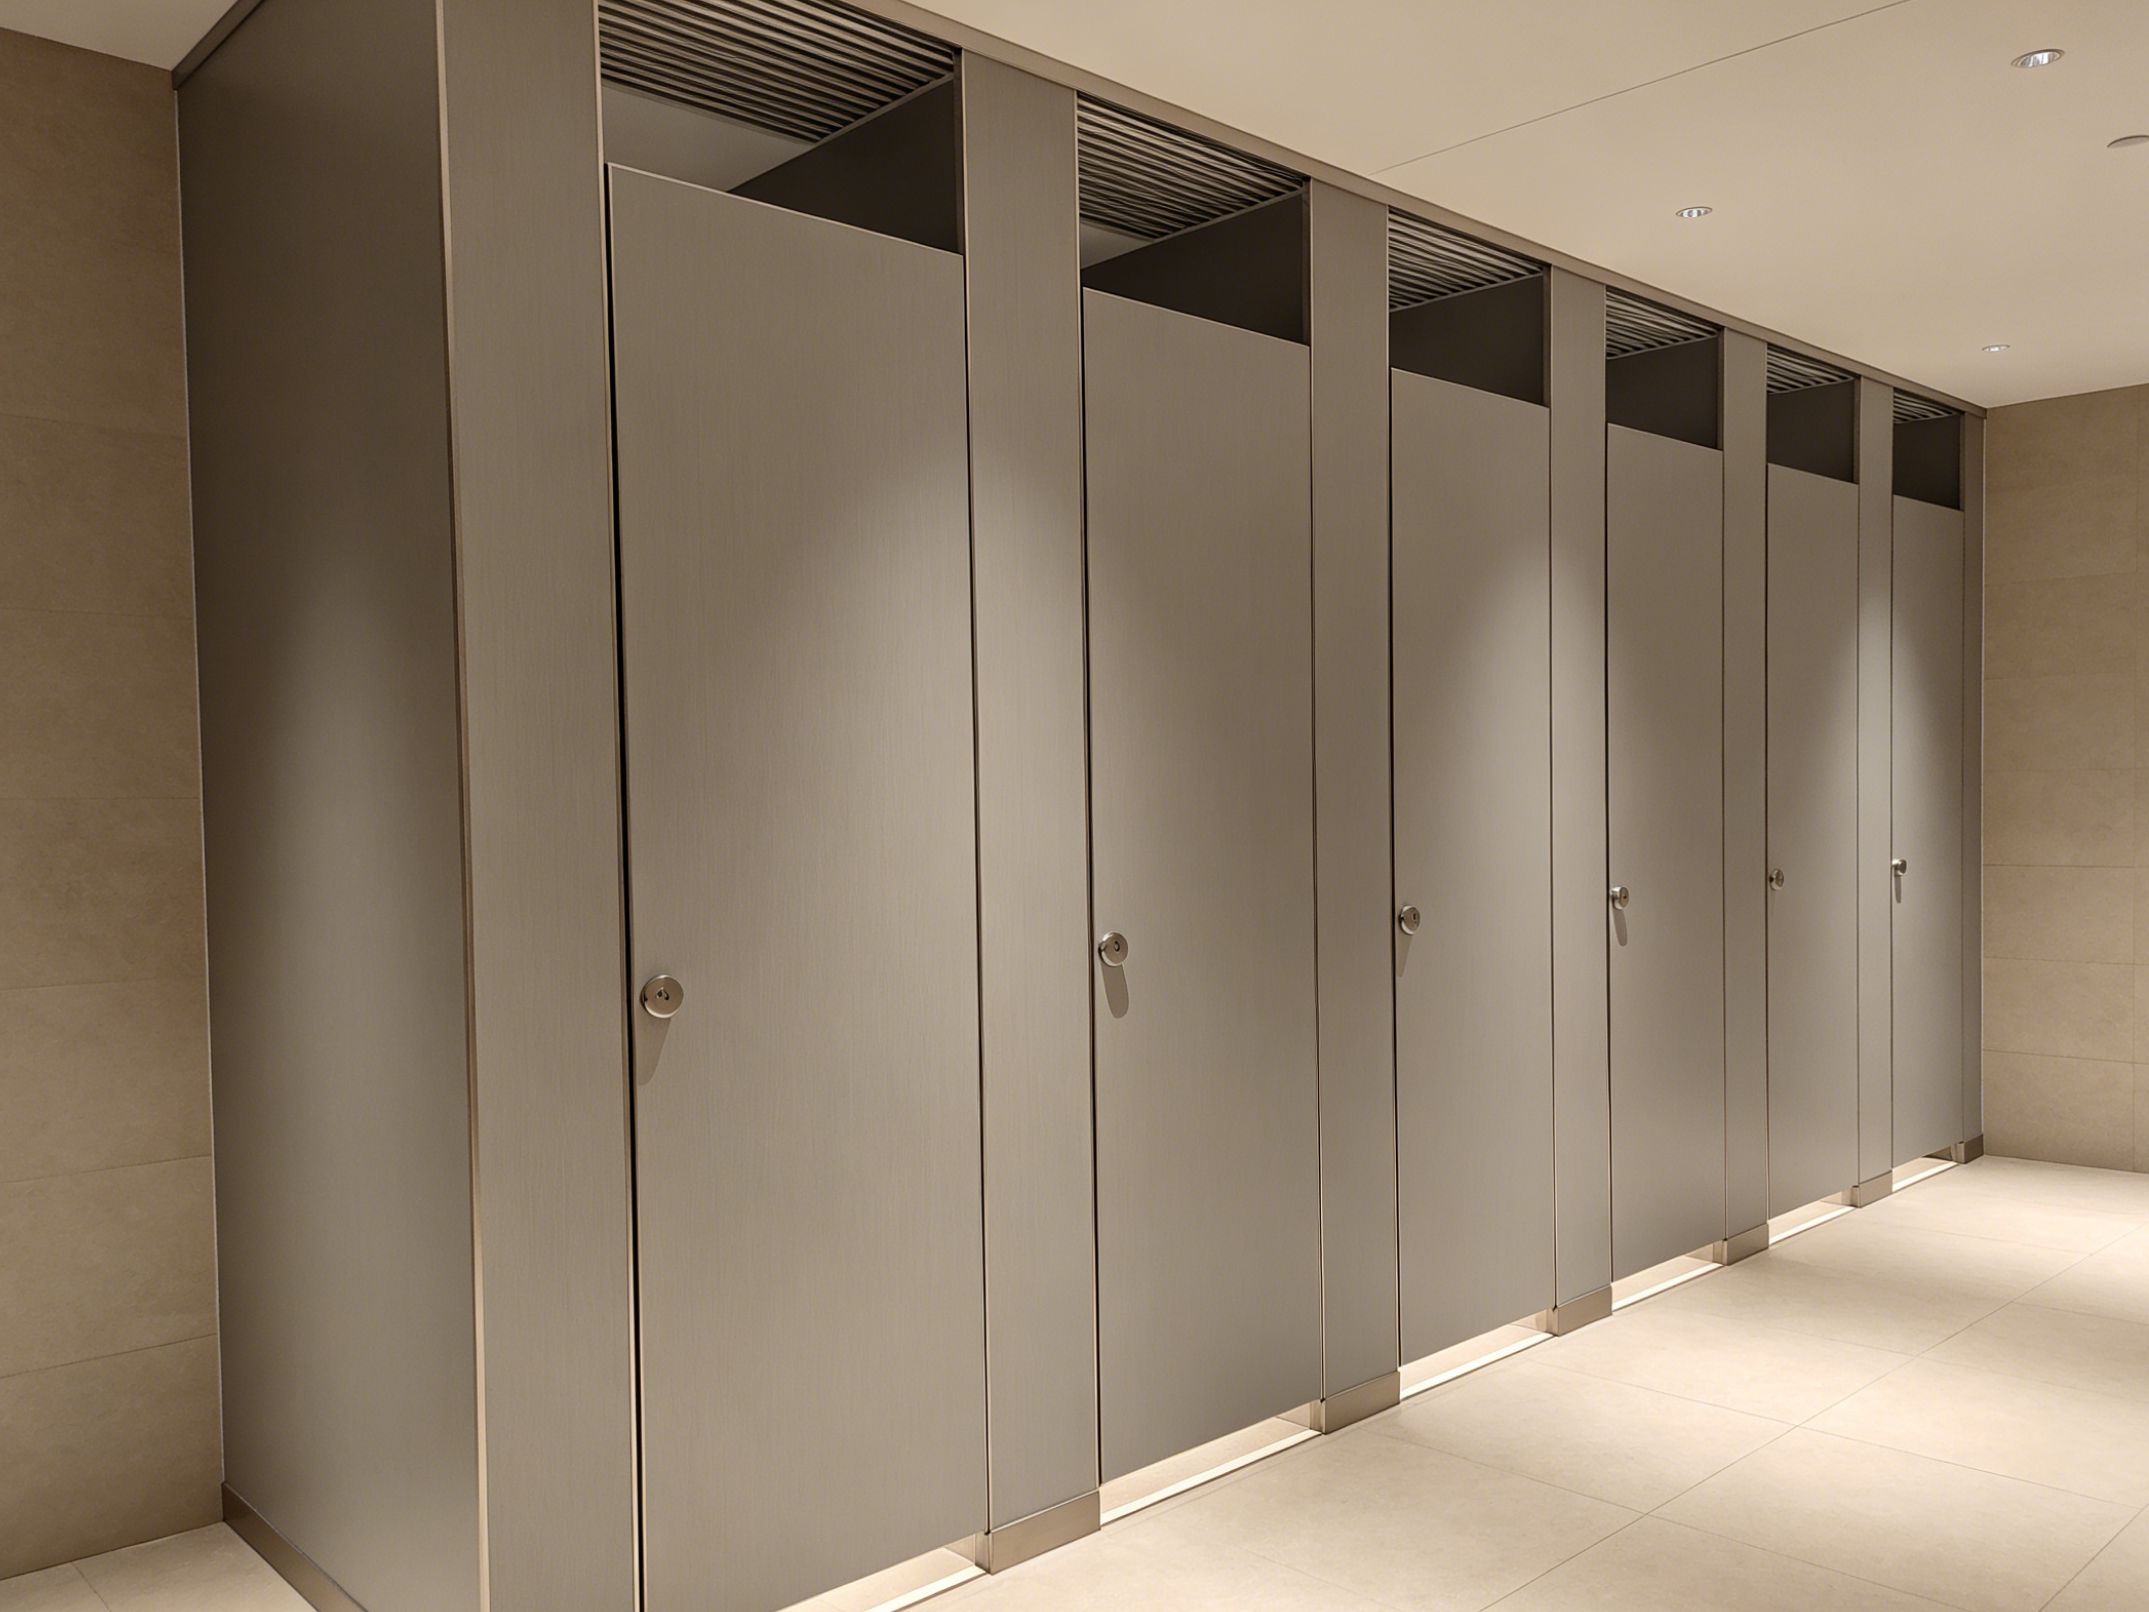
HPL Toilet Partition Installation Guide for Malaysia Contractors
HPL Toilet Partition Installation Guide for Malaysia Projects
Correct HPL toilet partitions installation is essential for achieving stable panels, smooth door operation, accurate alignment, and a clean finished appearance. For contractors working on commercial office buildings and public schools in Malaysia, installation quality can directly affect labor costs, project schedules, and handover results.
Even high-quality partition panels can experience problems when site measurements, floor conditions, hardware positions, or installation sequences are not properly coordinated. Planning these details before materials arrive can reduce unnecessary drilling, cutting, adjustment, and rework.
This guide explains the main installation stages contractors should consider when installing HPL toilet partitions in Malaysia commercial projects.
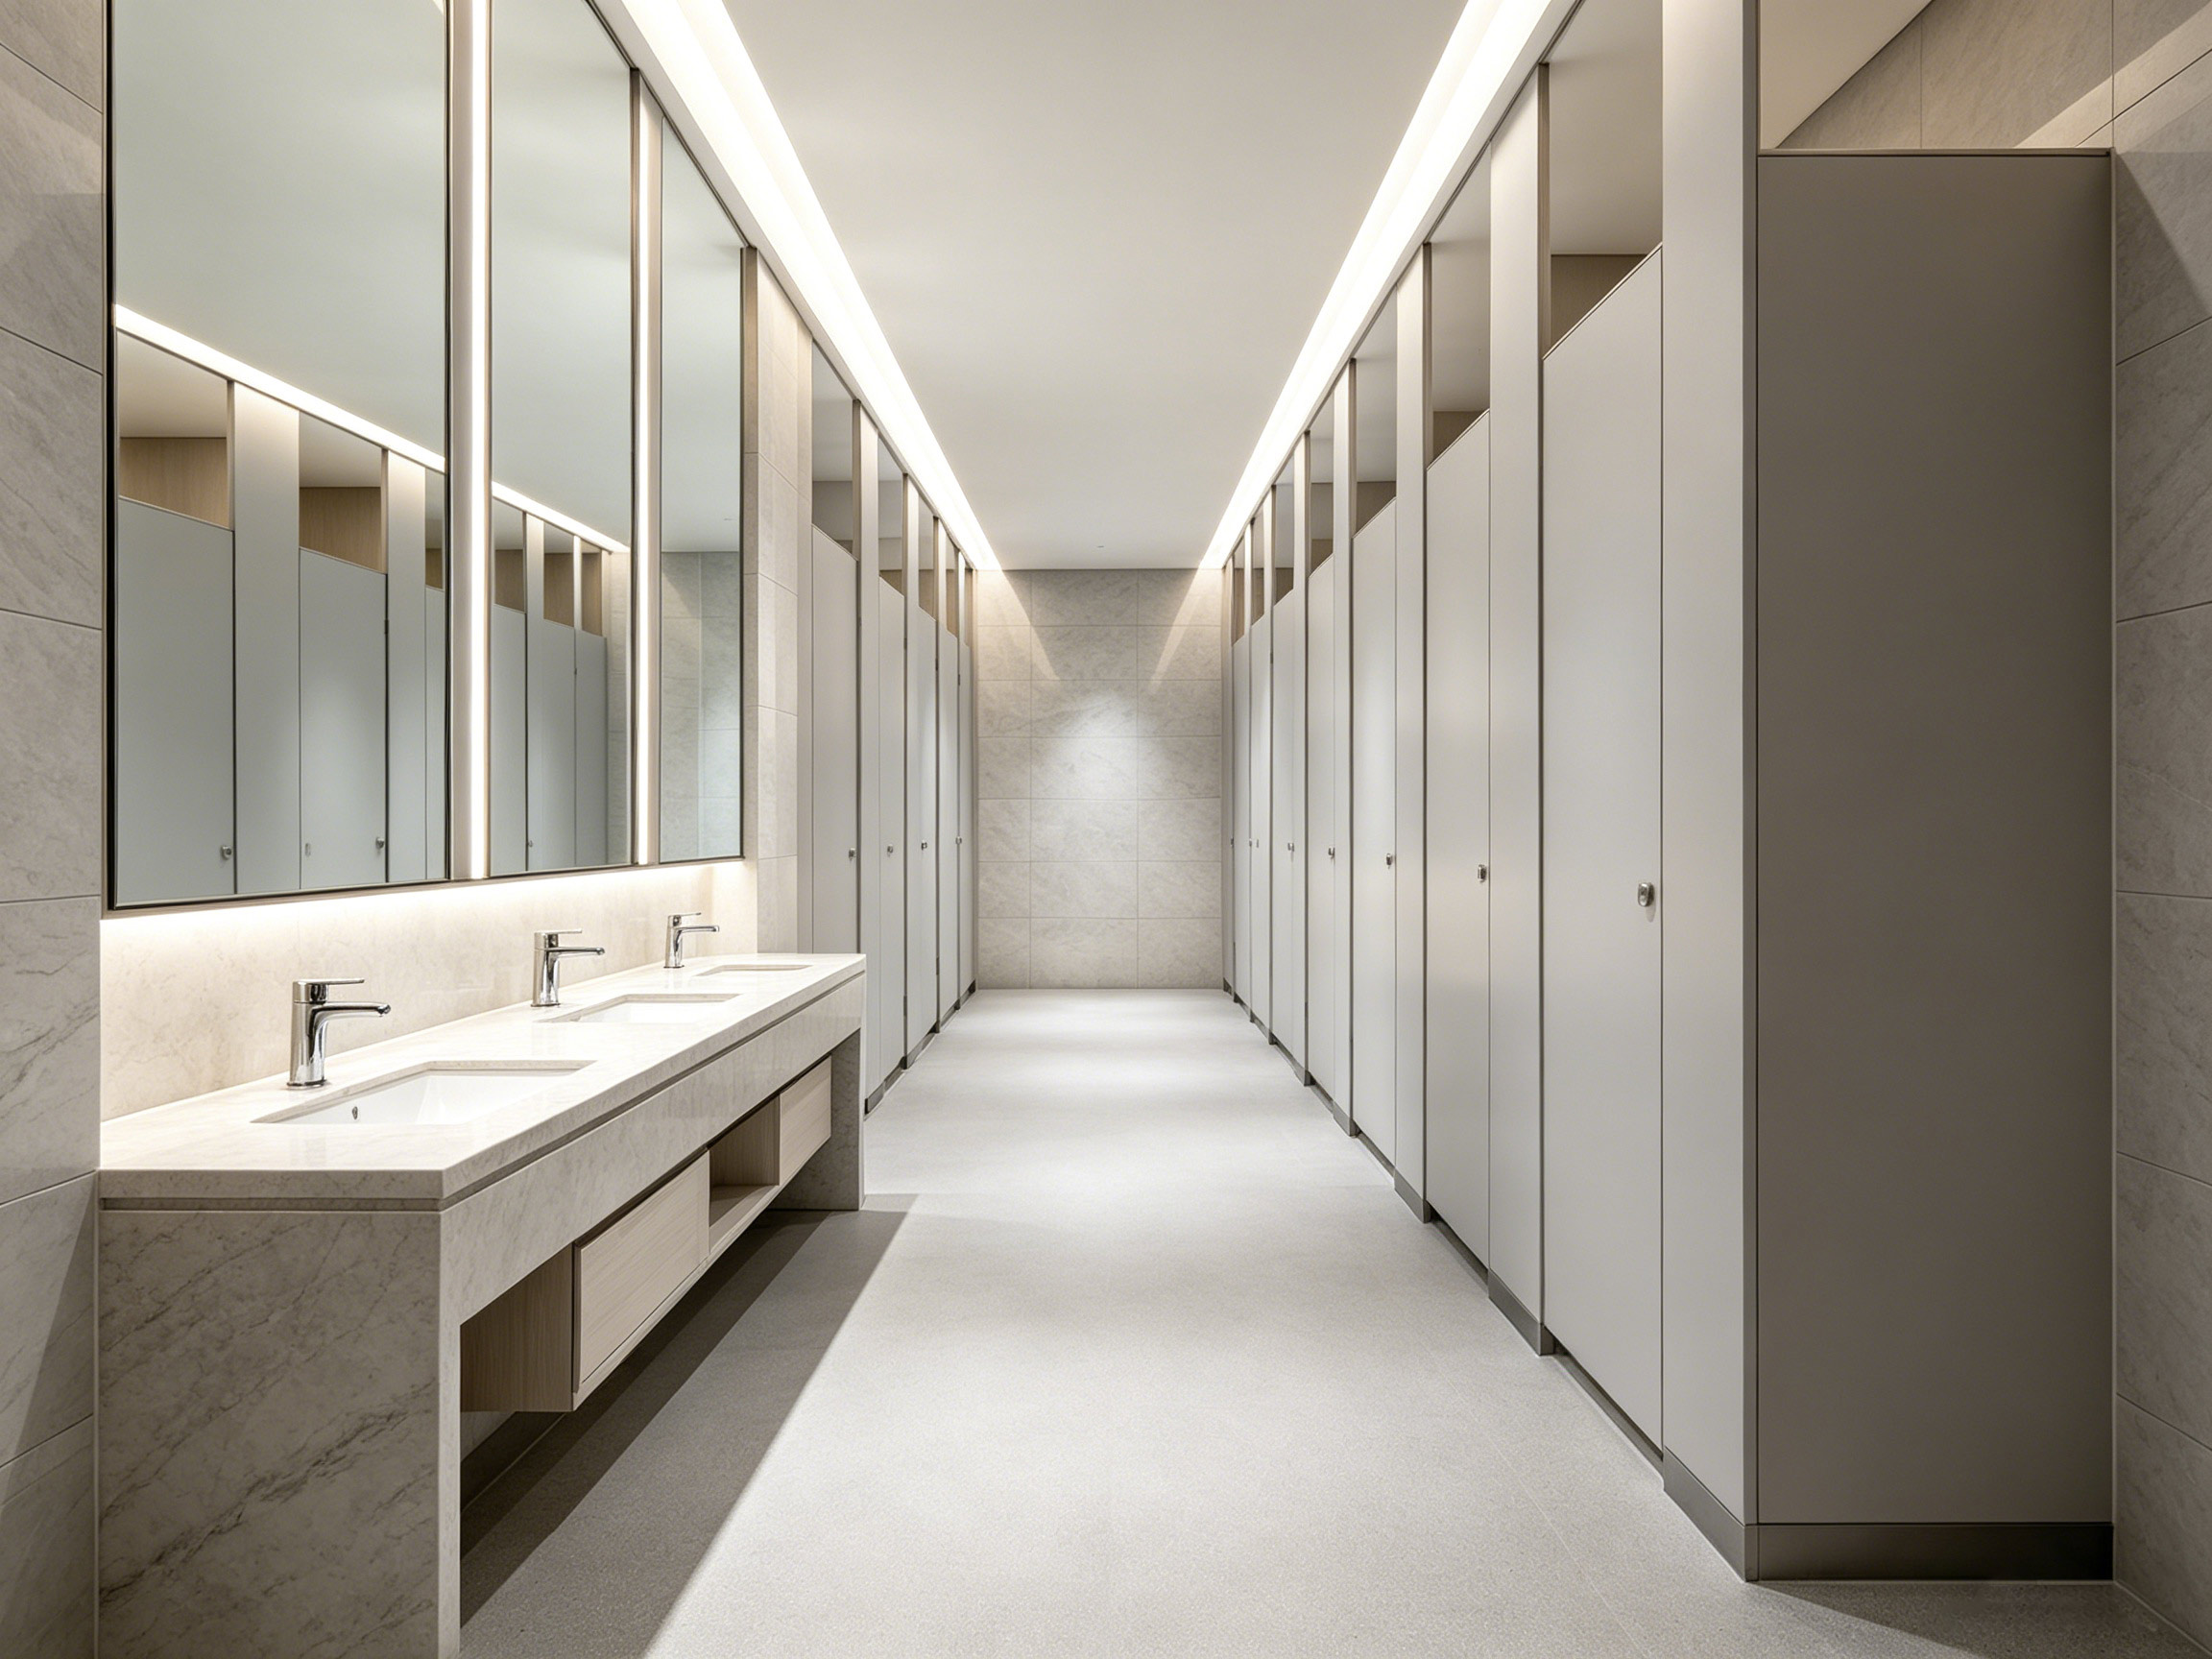
Start With Approved Drawings and Site Measurements
Installation should begin with approved drawings and accurate site measurements. Contractors should compare the actual restroom conditions with the latest CAD drawings before fixing any partition components.
Check the overall room dimensions, wall positions, floor levels, plumbing locations, door openings, and fixture positions. Any significant difference between the drawings and actual site conditions should be reported before installation begins.
This step is particularly important for customized HPL toilet partitions because factory-produced panels are manufactured according to approved dimensions.
1. Prepare the Installation Area
The restroom should be sufficiently prepared before partition installation starts. Flooring, walls, plumbing, and major construction work should be checked to ensure that the installation area is ready.
Contractors should confirm that:
- Floors are sufficiently level
- Walls are suitable for fixing
- Plumbing positions are confirmed
- Installation areas are accessible
- Other trades will not interfere with partition installation
- Required tools and hardware are available
Installing partitions too early can expose panels and hardware to unnecessary construction damage.
2. Verify Panel Dimensions Before Installation
Each panel should be checked against the approved drawings before being fixed. Contractors should verify panel identification, dimensions, finish, edge condition, and intended installation position.
For larger projects, organizing panels according to restroom zones can make installation more efficient. This can reduce the time installers spend identifying components on-site.
If a panel appears inconsistent with the approved drawing, it is better to confirm the issue before drilling or cutting rather than modifying the panel immediately.
3. Mark Partition Positions Carefully
Accurate marking establishes the final restroom layout. Contractors should mark the center lines and fixing positions according to the approved dimensions.
Cubicle width, partition depth, door opening direction, wall connections, and support locations should all be checked before permanent fixing.
Small errors at this stage can accumulate across multiple cubicles. Careful layout marking can therefore reduce alignment problems later in the installation process.
4. Install Supporting Components
Supporting components such as brackets, feet, channels, and fixing hardware should be installed according to the approved system configuration.
The fixing method must be suitable for the actual wall and floor construction. Contractors should confirm the appropriate anchors and fasteners rather than assuming that one fixing method is suitable for every building.
For a detailed review of the components used with HPL toilet partitions, see our guide to toilet partition hardware accessories.
5. Position and Align the Panels
Once the supporting components are prepared, partition panels can be positioned according to the approved layout.
Panels should be checked for vertical alignment, level, spacing, and connection accuracy. Adjacent panels should maintain consistent positioning throughout the restroom.
Installers should avoid forcing panels into position because excessive pressure can damage edges, fixing points, or surrounding components.
6. Install Doors and Hinges
Doors require careful installation because they are among the most frequently operated components of a restroom partition system.
Before final tightening, installers should check the door position, opening direction, hinge alignment, and surrounding clearance. The door should operate smoothly without contacting adjacent panels or fixtures.
Hardware should be tightened according to the manufacturer's recommended installation method. Incorrect hinge positioning can lead to sagging, uneven gaps, or poor door operation.
7. Install Locks and Indicator Hardware
Locks, indicator bolts, handles, and other door hardware should be installed after the door position has been confirmed.
Hardware locations should be consistent across all cubicles. In commercial projects, consistent positioning improves both appearance and user experience.
After installation, each lock should be tested to confirm proper engagement and release.
8. Check Panel and Door Alignment
A final alignment inspection should be completed after all panels and doors have been installed.
Check:
- Panel verticality
- Panel level
- Door gaps
- Door opening
- Lock alignment
- Hinge operation
- Bracket stability
- Support foot position
- Hardware tightness
- Surface condition
Any adjustment should be completed before the restroom is handed over to the client.
Installation Considerations for Malaysia's Humid Environment
Malaysia's humid conditions make proper installation especially important. Water exposure should be minimized around vulnerable panel edges, fixing points, and supporting components.
Installers should also ensure that the restroom has appropriate drainage and ventilation. Good installation practice combined with suitable material selection can help reduce moisture-related problems during long-term use.
Cleaning chemicals should also be selected according to the manufacturer's recommendations to avoid unnecessary damage to surfaces or hardware.
How Proper Installation Helps Reduce Labor Costs
Installation efficiency is closely connected with project profitability. Repeated cutting, drilling, alignment corrections, and hardware adjustments can increase labor hours significantly.
Accurate factory fabrication can reduce unnecessary site work. However, the benefits can only be fully realized when contractors use the approved drawings and follow an organized installation sequence.
For large projects, preparing a consistent installation procedure for every restroom zone can help improve productivity and reduce variation between installation teams.
Common HPL Toilet Partition Installation Mistakes
Installing Before Site Conditions Are Ready
Premature installation can expose panels to damage from other construction activities.
Using Incorrect Fixings
Wall and floor conditions vary between buildings. Fixings should be selected according to the actual substrate.
Skipping the Measurement Check
Installing directly from old drawings without checking site conditions can result in dimensional conflicts.
Installing Hardware Before Panel Alignment
Hardware should be coordinated after the main panel positions have been confirmed.
Ignoring Door Clearance
Doors must have sufficient space to operate without contacting partitions, walls, or fixtures.
Failing to Inspect Before Handover
A final inspection can identify loose hardware, uneven gaps, alignment problems, and surface damage before the project is completed.
HPL Toilet Partition Installation Checklist
Before handover, contractors should confirm that:
- All panels match the approved drawings
- Panels are level and vertically aligned
- Partition connections are secure
- Doors open and close correctly
- Hinges are properly adjusted
- Locks operate correctly
- Hardware is securely fixed
- Support feet are stable
- Surfaces are free from installation damage
- Restroom fixtures remain accessible
- Final cleaning has been completed
A systematic inspection helps reduce post-handover complaints and unnecessary service visits.
People Also Ask (FAQ)
Q1: Can HPL toilet partitions be installed directly from architectural drawings?
Installation should use approved fabrication and installation drawings together with verified site measurements. Architectural drawings may not contain every detail required for final installation.
Q2: Should HPL toilet partitions be installed before or after restroom finishes?
The installation sequence depends on the project, but the restroom should be sufficiently complete and protected before partition panels are installed. Coordination with flooring, walls, plumbing, and other trades is important.
Q3: What causes HPL toilet partition doors to become misaligned?
Common causes include incorrect hinge installation, uneven panels, inaccurate fixing positions, floor movement, or improper adjustment during installation.
Q4: How can contractors reduce HPL toilet partition installation time?
Accurate site measurements, approved CAD drawings, factory-fabricated panels, coordinated hardware, organized material handling, and a consistent installation sequence can help reduce unnecessary site work.
Q5: What should be checked after installation?
Check panel alignment, door operation, hardware, fixing stability, gaps, surfaces, and compatibility with restroom fixtures before handover.
Project Planning & Engineering Support
Successful restroom partition projects begin with accurate planning. If you're developing specifications for commercial office buildings or public schools in Malaysia, our engineers can help review your layouts and recommend suitable HPL toilet partition solutions before production begins.
- CAD & Specification Review: mrsalufcs@gmail.com (Submit your drawings or BOQ for engineering verification.)
- Technical Consultation: +86 15207652902 (Consult our team on partition layouts, hardware selection, and project coordination.)
HPL Toilet Partition Hardware Accessories Guide for Malaysia Projects
HPL Toilet Partitions Dimensions and Layout Guide for Malaysia